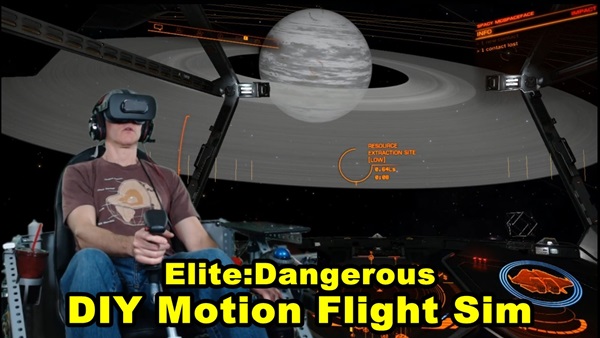
Elite Dangerous Motion Flight Simulator
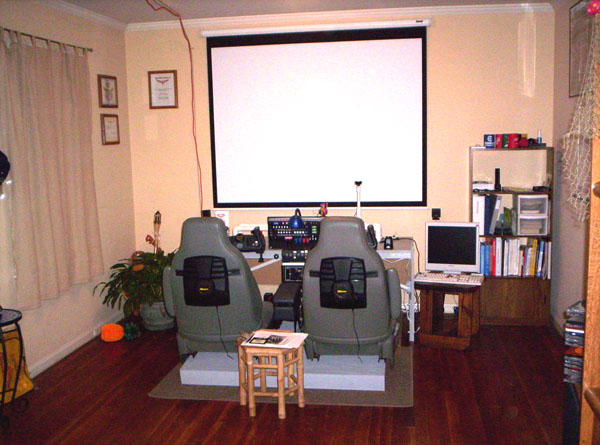
I built my DIY Elite Dangerous Motion Flight Simulator with supplies from a home improvement store. It works with a variety of flight simulator titles, not just Elite:D. I call this motion rig the “Kinetic Flight Sim.”
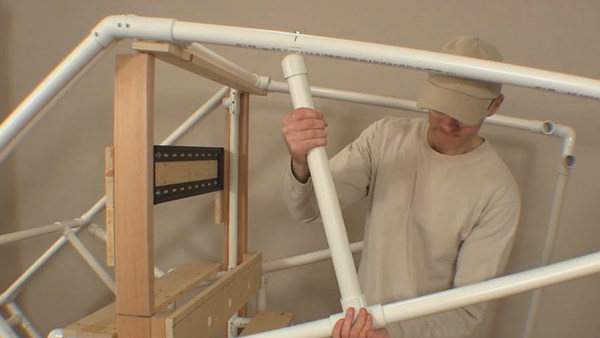
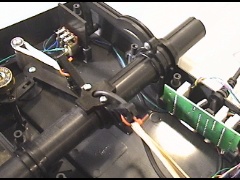
How it Moves
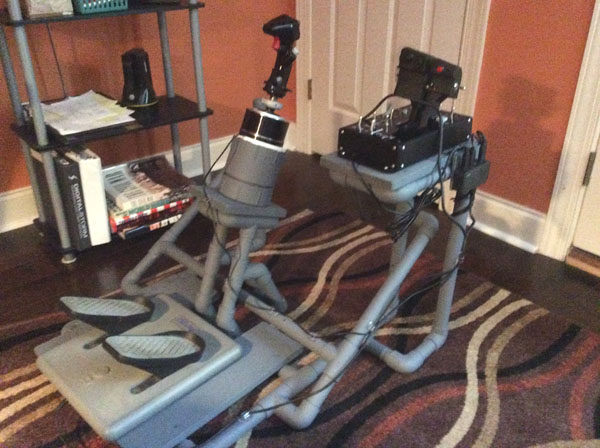
I designed the movement system by examining the control linkages of actual Sport Aviation aircraft. Nearly all small airplanes have control systems consisting of cables, pulleys, bell cranks, and levers. The Kinetic Flight Sim uses similar technology.
The motion system is not software-specific. Not only is this an Elite Dangerous Motion Flight Simulator, it will work with any flight simulator software. I’ve already tested it with AeroflyFS2 (see video), War Thunder, and DCS World. I plan to test it with X-plane 11 and IL-2 Battle of Stalingrad once I upgrade the computer’s video card.
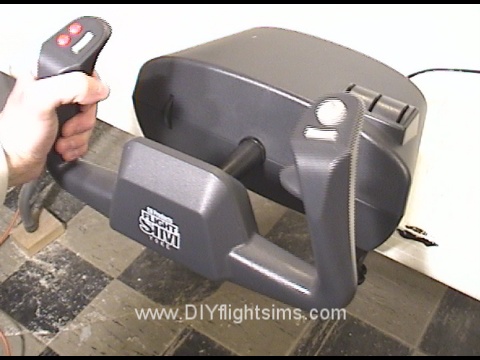
HOTAS Controls
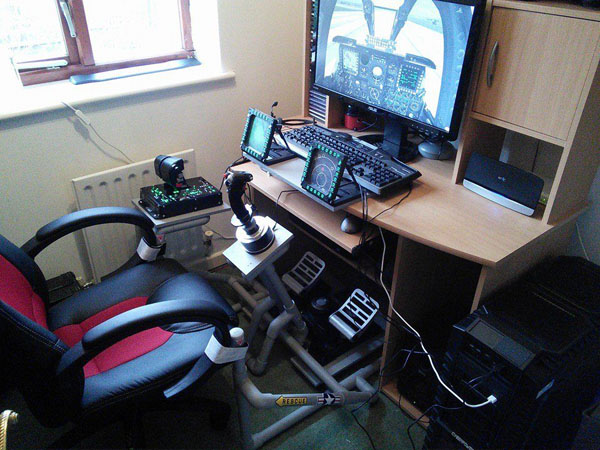
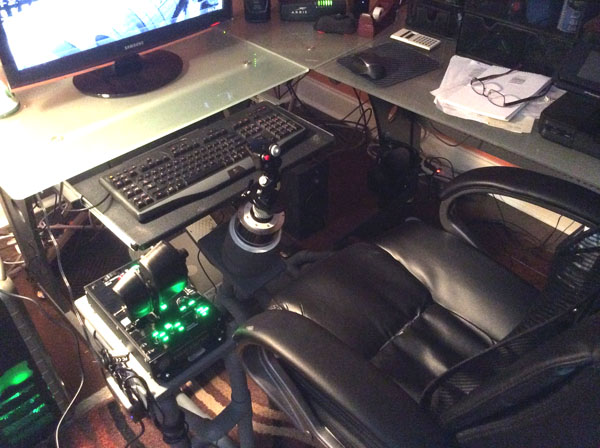
The Kinetic’s controls are HOTAS (Hands On Throttle And Stick). The joystick is a CH Products Combatstick. I used this type of joystick because I have experience modifying this type and simply because I had one available for use. The throttle is the Saitek/Logitech X52, and the pedals are Saitek Pro Flight rudder pedals. I plan to upgrade to Thrustmaster Warthog controls if I receive adequate funding.
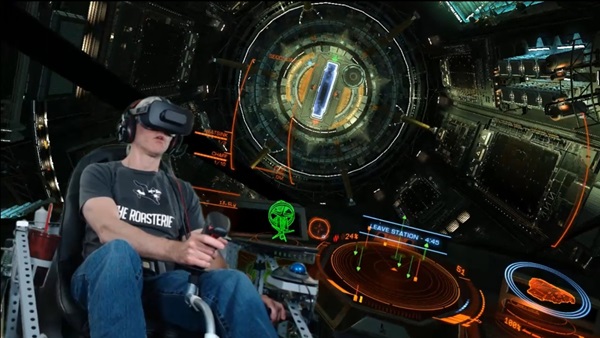
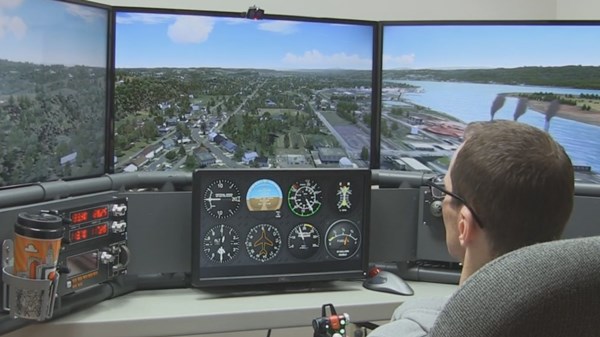
The HOTAS controls are especially important because of virtual reality. When the pilot wears the Oculus Rift VR Headset, he can only see the virtual cockpit. The controls are not visible (and neither is my drink holder).
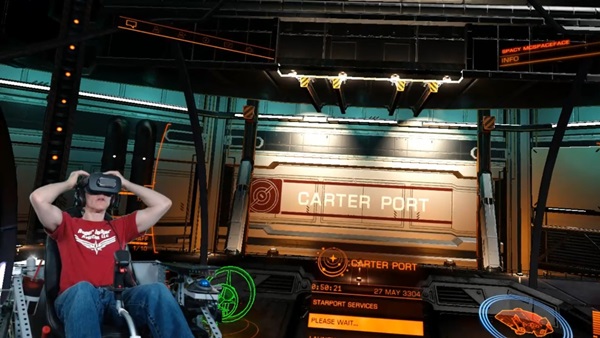
Elite Dangerous Motion Flight Simulator
Check out these demonstration videos. I’m using the Kinetic flight sim with Elite Dangerous and flying the new Krait MkII. Elite:D works particularly well with my gaming computer and VR headset. It’s an absolute joy to fly in space with a motion flight sim. I could produce longer videos but I’m not sure if people really want to see that.
Should I livestream longer flights? I hope to try that soon.
The following video is an exclusive! It’s only available to the readers of this blog article. I call it “Dodging Icebergs” Enjoy ! ! !


Recent Comments