Bravo Throttle Quadrant from Honeycomb Aeronautical

The New Bravo Throttle Quadrant from Honeycomb Aeronautical

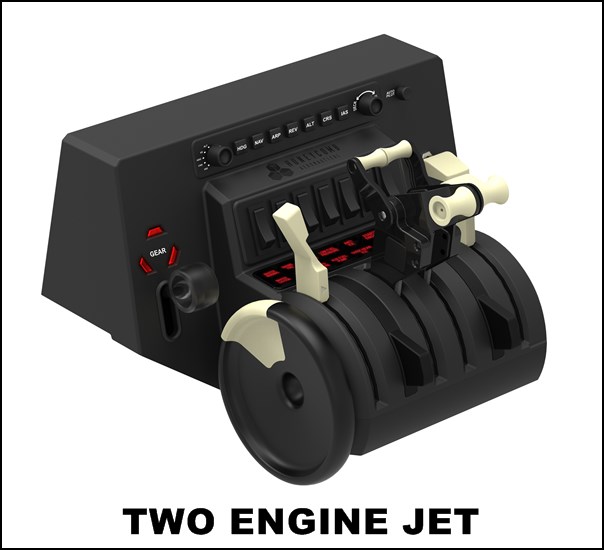
Here’s something we rarely get to say: NEW FLIGHT CONTROLS! The new Bravo Throttle Quadrant from Honeycomb Aeronautical packs a ton of features and options into one affordable unit. It’s a sorely needed solution for the flight sim community.

Throttle Quadrant

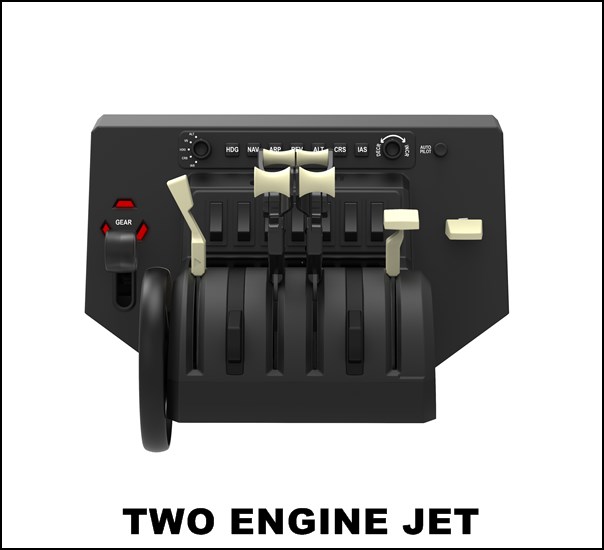
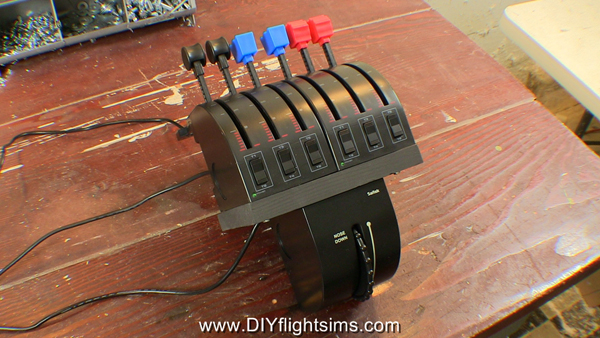
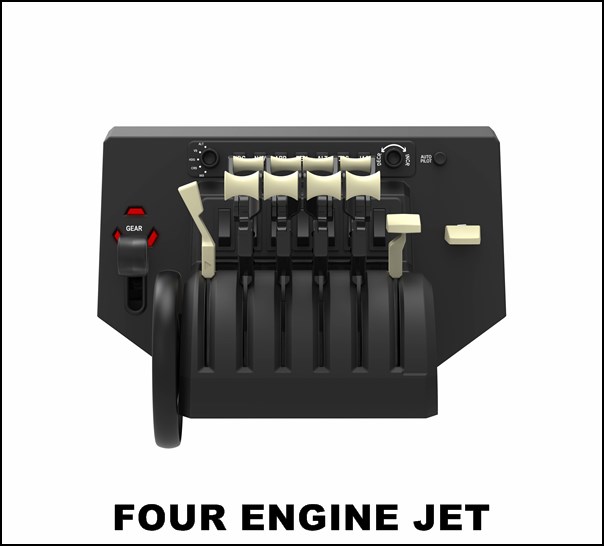
First of all, the Bravo Throttle Quadrant recognizes something that the community has known for a long time: dudes dig jets. Therefore, the six main levers include interchangeable handles that include options for turbine airliners. That’s right – you can set up a Boeing 737 throttle quadrant right out of the box, including spoiler and flap lever. Furthermore, you can set it up as a four engine airliner, and I assume a three engine airliner for you B-727 or L-1011 enthusiasts out there.

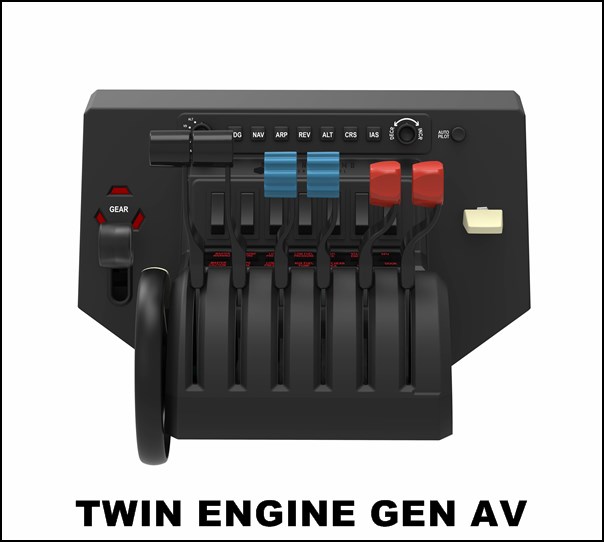
General aviation pilots can set up the Bravo Throttle Quadrant as a light twin with prop and mixture controls or a single engine airplane. Most noteworthy, you can remove the unused levers so they’re not in the way, which is very nice.


Trim Wheel

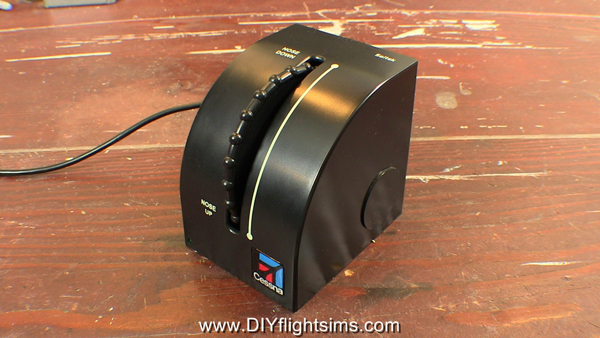
The Bravo Throttle Quadrant includes a trim wheel, hallelujah!!! Pilots from the real world know how important elevator trim is. On the other hand, if you were raised on home flight sims, you possibly underestimate its importance. If you know me, you know how much I liked the Saitek trim wheel. Tragically, it appears that Saitek stopped producing the trim wheel when the company was acquired by Logitech. Now Honeycomb Aeronautical has come to our rescue.


Other Features

If the Bravo Throttle Quadrant only had the interchangeable levers and the trim wheel it would be a solid product, but it also includes several other features. It has a landing gear handle with position lights, flap lever and annunciator panel. In addition, it has autopilot controls, and seven programmable rocker switches. Is that too much for a small unit? Is the annunciator panel hard to see? Does it seem like the rocker switches hard to reach? I will suspend judgement until I actually try one in real life.


Bravo Throttle Quadrant – Ok, How Much?

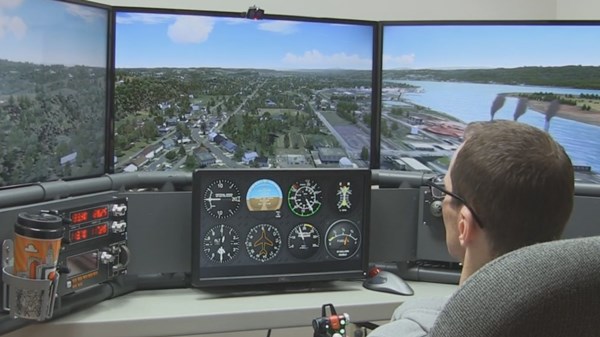
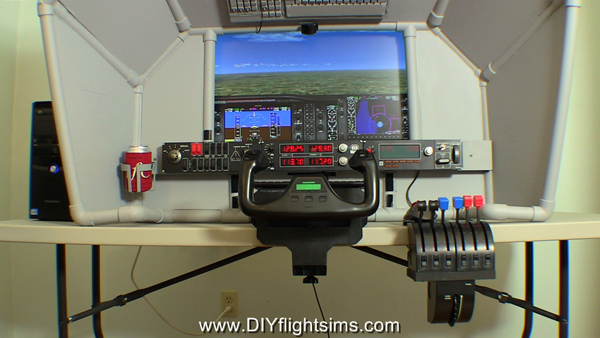
Honeycomb Aeronautical’s website lists a suggested retail price of $199.99 for the Bravo Throttle Quadrant. That’s a damn good price for so many features. It should be available “shortly after” the release of the Alpha Flight Controls in the 4th quarter of 2017. In addition, the Bravo Throttle Quadrant looks like it would be a delightful addition to the DIY Deluxe Desktop Flight Sim or the DIY Flight Sim Pod.

 

take my money credit card

How to Build a Flight Simulator

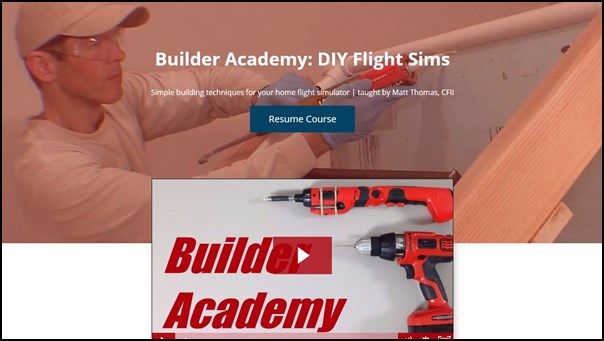
Introducing the Builder Academy

The Builder Academy is a comprehensive resource for learning all the basic flight sim building skills. What is it like to build a DIY Flight Sim project? The Builder Academy will show you. In addition, you can also learn about modifying the existing DIY Flight Sims projects. If you’re wondering how to build a flight simulator, this is your first, best resource. By the way, it’s free!

Builder Academy Content

What is in the Builder Academy? Some of the videos in the Builder Academy were formerly a part of the “Free Videos” folder included with some purchases. Other videos were first published on YouTube, but are now only available in the Builder Academy. Some of the content is new and available only at the Builder Academy. Finally, all of the content assists you in different ways when you’re learning how to build a flight simulator.
This is an overview of the course curriculum:

  • Recommended Tools
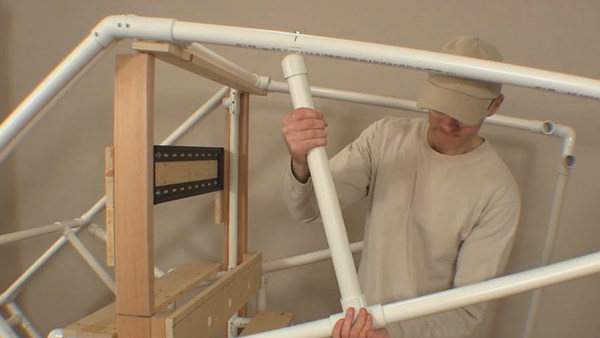
  • Building with PVC Pipe (new)
  • Self-Drilling Screws
  • Add a Monitor for the Flight Instruments
  • Display Flight Instruments with Air Manager
  • Install Saitek Switch Panels
  • Styrofoam Body Panels
  • Prototyping – How to Modify DIY Flight Sim Projects
  • Saitek Trim Wheel Adapter
  • X52 Saitek Throttle Fix
  • Saitek Yoke Modifications
  • CH Yoke Modifications
  • Paint for Home Flight Simulators
  • USB Cable Management
  • Change Log

Training Available Wherever You Are

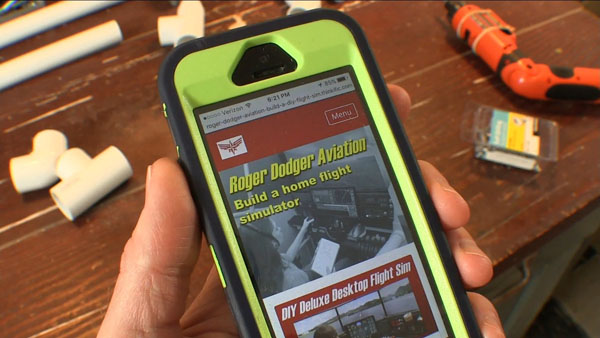
The Builder Academy is available on nearly any device. As a result, you can view the training on a tablet or phone while you’re in your workshop or view it on a laptop or desktop. Also, there are some printouts and templates for certain projects, so you might need a printer at some point. I periodically add new content, so be sure to check the Change Log if you haven’t been there in a while. The Builder Academy is my platform to show everyone how easy it can be to build a home flight simulator. Even the most complex projects are really just a series of relatively easy steps. Visit the Builder Academy today and let me know what you think of it.

View the Builder Academy on your phone or tablet or anything
Saitek Trim Wheel Adapter Template

Build a Saitek Trim Wheel Adapter

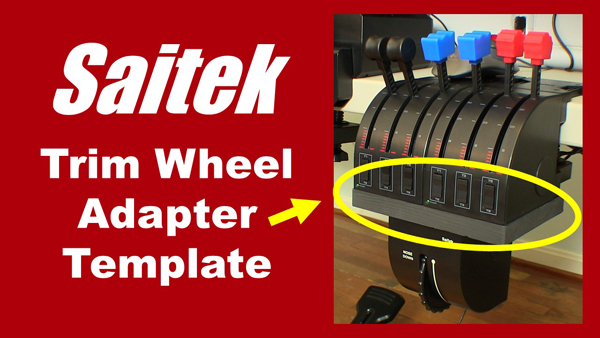
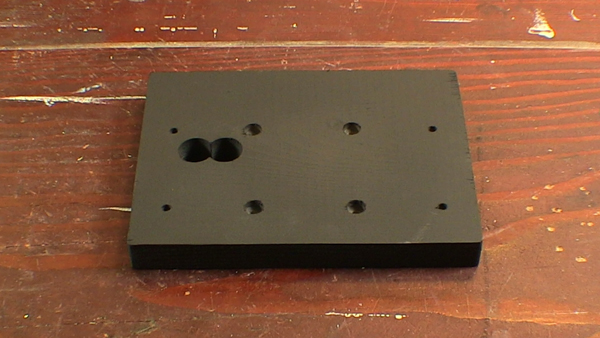
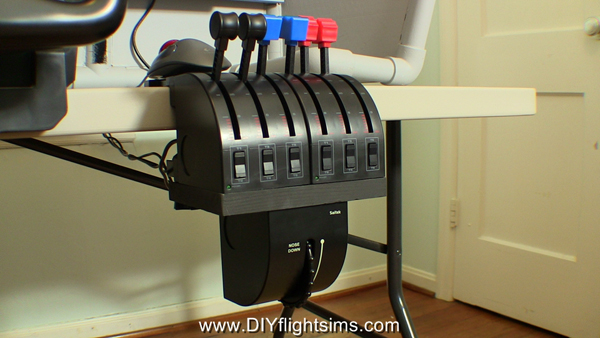
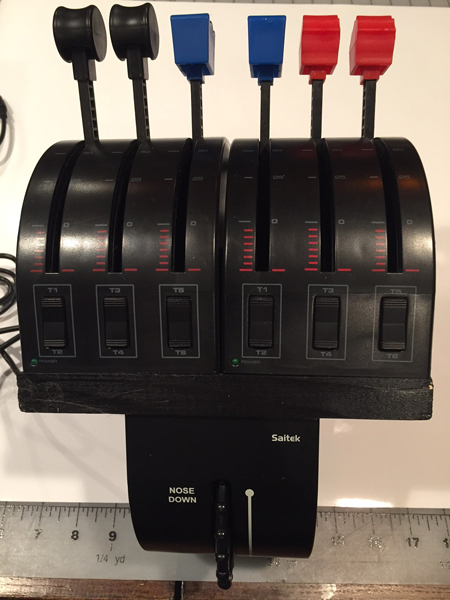
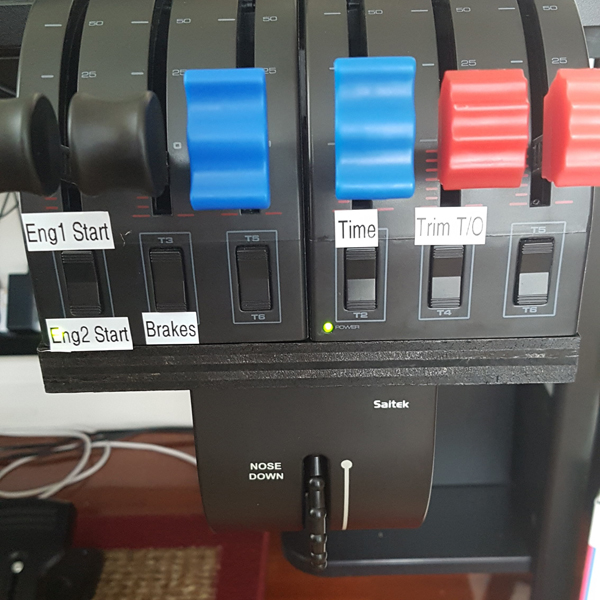
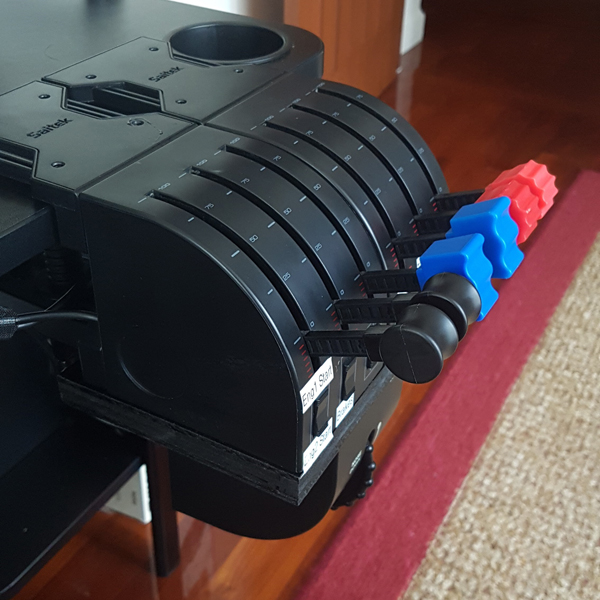
You can install the Saitek Trim Wheel underneath dual Saitek Throttle Quadrants… but only if you use an adapter plate. I made instructions, a DIY video, and a template to help you build a Saitek Trim Wheel Adapter  just like the one you see in the pictures.

I’m very happy with the Saitek Trim Wheel mainly because proper elevator trim is such a vital and basic skill in real flying. We are lucky that an inexpensive and robust trim wheel is readily available for our home flight simulators. Unfortunately, there is no way to clamp the stock Saitek Trim Wheel to a reasonable location. Believe me, I tried. A pilot should be able to adjust the elevator trim without looking for it the trim wheel. As a result, most trim wheels in real airplanes are located under the throttle or next to the pilot seat. Therefore, I made this Saitek Trim Wheel Adapter plate so you can install your trim wheel in a very natural location for your home flight simulator.


You Can Build a Saitek Trim Wheel Adapter

Take a look at these two examples of Saitek Trim Wheel Adapters built by Flight Sim enthusiasts just like You! Most noteworthy, you will see their Adapters look exactly like the one I built. They used the exact same build template that I offer free on my website. Many thanks to builders Dennis and Ben for sending me their pictures. I would love to see your finished Adapter too. If you build one, please send me pictures of your project to diyflightsims@rogerdodger.net.


Download the Free Template

Build your own Saitek Trim Wheel Adapter. Start by downloading and printing out the template. Get the template free by signing up for my monthly newsletter, the Roger Dodger Insider. You will be the first to know about product updates, sales, building tips, and more. It’s a monthly email so you won’t be bombarded with a bunch of stuff in your inbox and you can unsubscribe at any time. Become a Roger Dodger Insider here.