VINCE
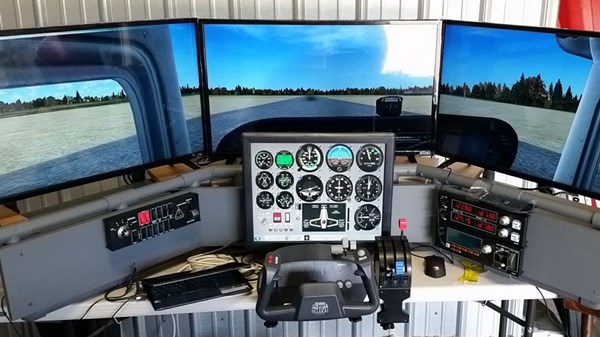
Great to see more D250's out there! Vince built this magnificent DIY Deluxe Desktop Flight Sim complete with a 4th display for the flight instruments. See him in the picture getting ready for takeoff in a trusty Cessna. He says it is still a work in progress, but that is the beauty of DIY Flight Sims: you can always modify or add to your project.
Well done, Vince! Enjoy your flying and thanks for the picture!
Al, Michigan
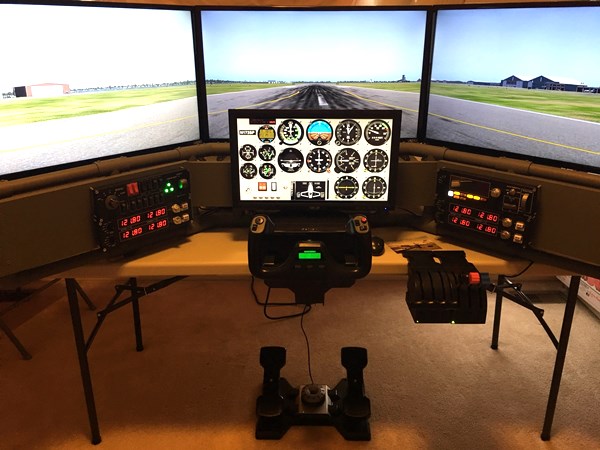
So exciting! Al did a spectacular job building his DIY Deluxe Desktop Flight Sim after choosing the online course. He says "I'm not handy at all and my wife is still amazed that I was able to build it (excellent directions did help!!). I'm running X plane 11 and Air Manager 3 beta"
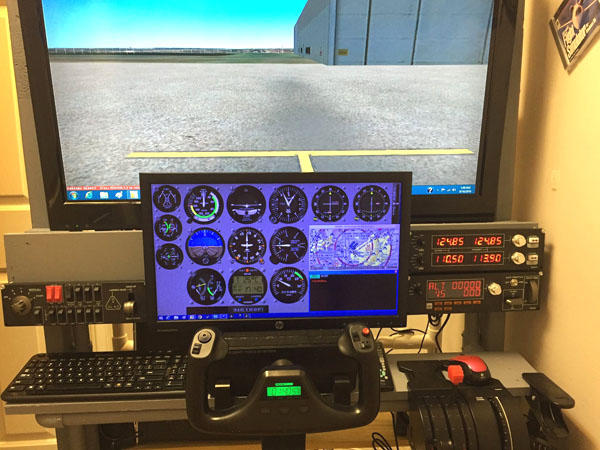
The version Al build includes a 4th monitor for the flight instruments and a yoke.
Thanks for sending in the pic, Al. You have a marvelous flight sim.
GREG, Georgia
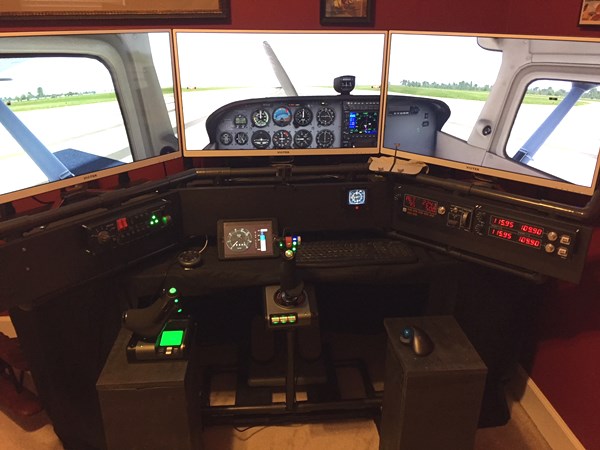
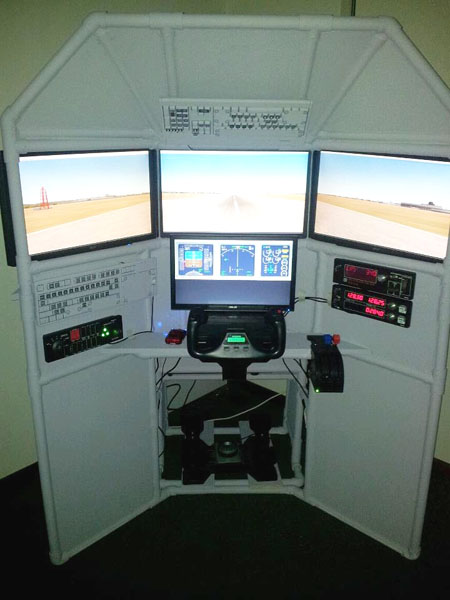
I'm thrilled to see builders sending me pictures of their completed projects. Greg built this impressive DIY Deluxe Desktop Flight Sim after taking the online course. He says "Project was fun. Really enjoying the finished product." The DIY Deluxe Desktop Flight Sim is fun to build and even more fun to fly. It's versitile too... equip it with a yoke and throttle quadrant or with a joystick and throttle as Greg has.
Thank you for sending the pic, Greg ! I'm happy you're enjoying it.
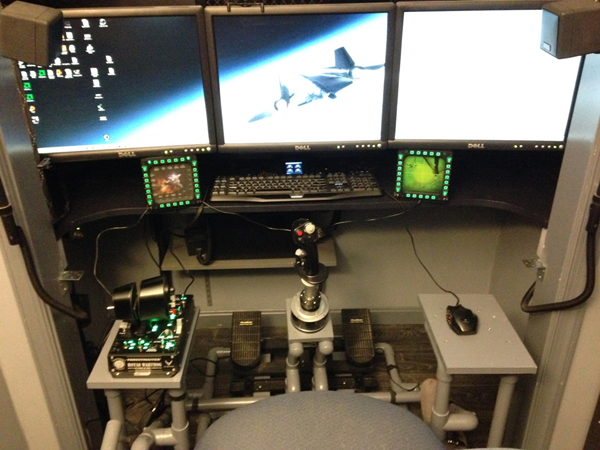
VINCE, Australia
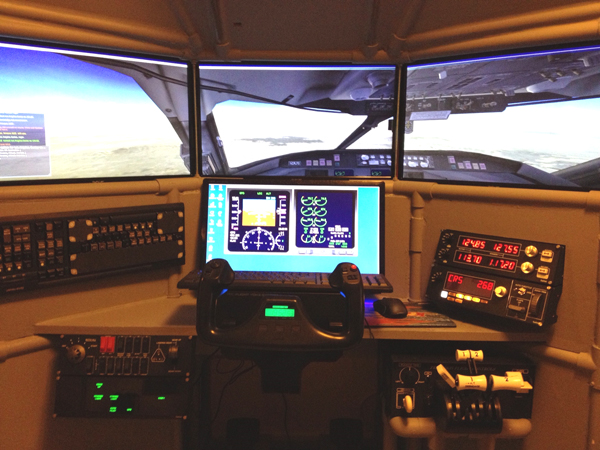
Look at this astounding DIY Triple Screen Flight Simulator that Vince built with additional Saitek switch panels and a 4th monitor for the instruments!
From Vince: "The plans of your DIY Triple Screen Flight Sim are awesome! I want to share this photo. I modified the centre frame to incorporate the gauges monitor. Great project, Thanks."
Amazing work, Vince ! Thanks for sending the picture.
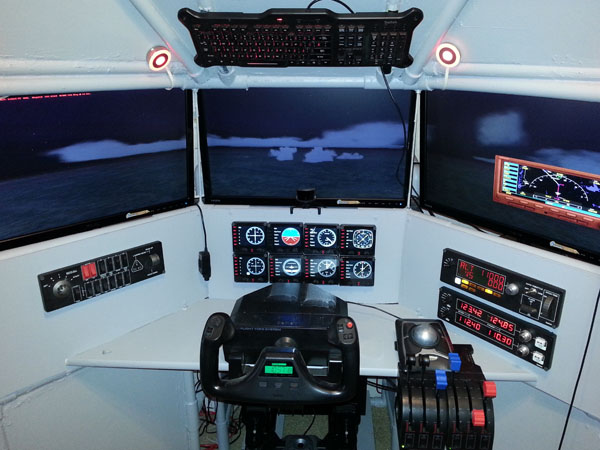

TOM
Tom built this breathtaking DIY Triple Screen Flight Simulator with a full Saitek instrument stack and switch panels! He says: "Had great fun building this triple screen, with your instructions and videos even I couldn’t mess it up!" Check out his usage of the eight Saitek instrument panel gauges. Each one is an individual multi-function display. He also included a full throttle quadrant for multi-engine operations and a stereo headset and more.
Very impressive work, Tom ! Thank you for the pictures.
TED
Six screens! Yes, I said six screens!
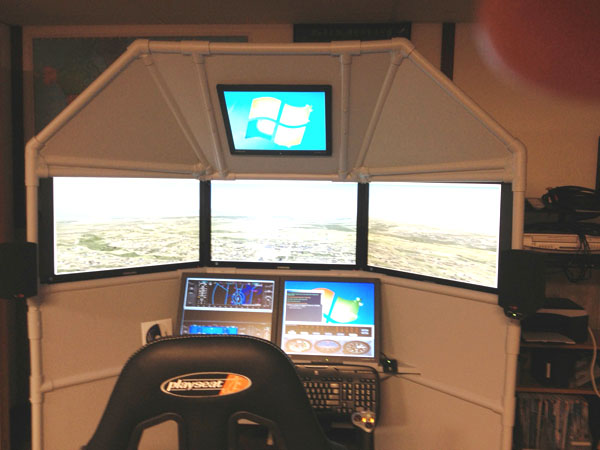
Ted built a DIY Triple Screen Flight Simulator and added two more screens for the instrument panel and one for the overhead panel.
Ted says:
"I'm only using one computer. I have a Matrox triple head to go for the three, 27inch monitors. The top monitor is operated with the second output on my main video card. I also have another video card that runs the bottom monitors... I made some adjustments because of the 27 inch monitors but it worked out ok. Thanks for your help with this."
THANK YOU, Ted, for sending in pictures for the Customer Gallery. Congratulations on your superb work!
RICH
Rich built a beautiful T440 DIY Triple Screen Flight Simulator complete with switch panels and a really nice throttle quadrant. He is now working to add a helicopter collective, cyclic, and a better computer to add to the fun. His project is another example of clever DIY flight sim cockpit builders that can modify their project.
Nice job Rich! Enjoy your project.
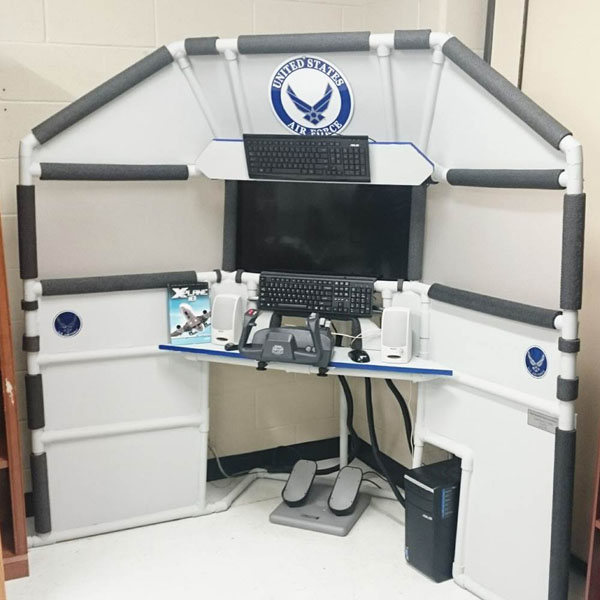
RUSS, North Carolina
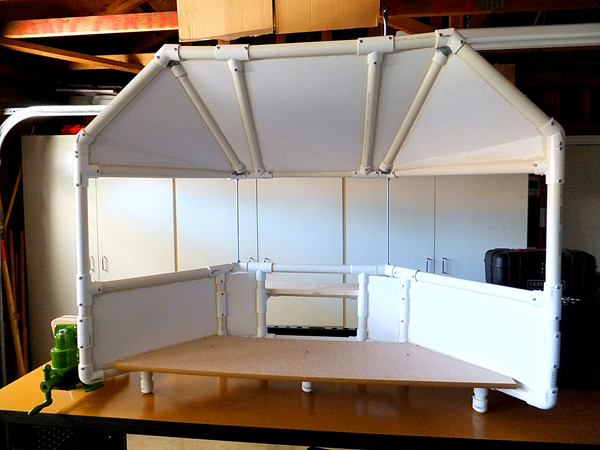
Russ built this beautiful DIY Flight Sim Pod for his cross-country flights that he shares on his Facebook fan page. He modified the large Flight Sim Pod frame to fit in a small corner of his house. Note the auxiliary monitor for the instruments and the trim wheel.
Read more about Russ's home flight sim at this blog post and don't miss the video tour and additional pictures.
Great work, Russ ! I'm glad to see the Pod is a versatile solution for flight sim cockpit builders. Thank you for sharing your flight sim experiences online !

CHRIS
Chris built an excellent DIY Triple Screen Flight Simulator and included Saitek switch panels! He was an early supporter of the Triple-Screen idea and contributed to our Kickstarter online fund-raiser.
Thank you for your support, Chris. Great job with your project!
GEORGE
"I've wanted to tell you how easy it was to follow your directions. You would make a great technical writer. My modified DIY Easy Helicopter works really well for aircraft and space sims. Having a center mounted joysticks makes a world of difference."
George incorporated a couple of clever modifications to the stock F331 Easy Helicopter Collective. He shortened the collective handle, so the optional throttle platform could stay in place for all operations. He also added a platform on the right side for the mouse. He's using a premium Thrustmaster HOTAS Warthog joystick + throttle.
Awesome set up, George! Thank you for the kind words!


JOSHUA, USAF
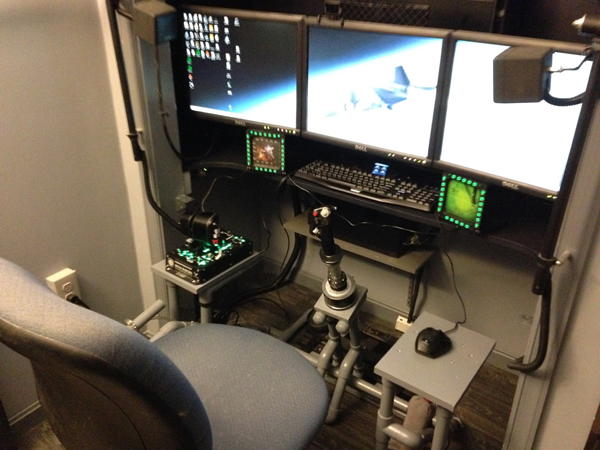
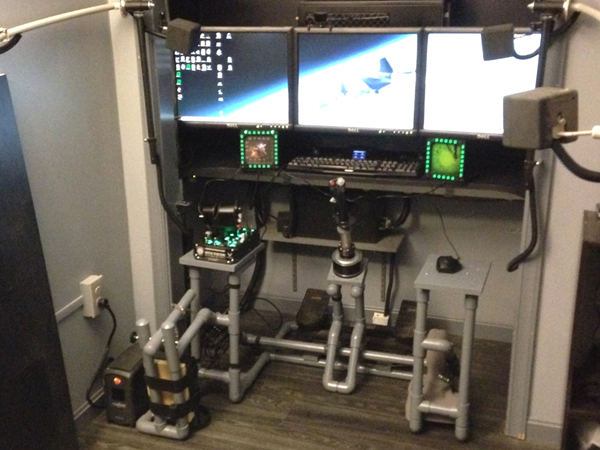
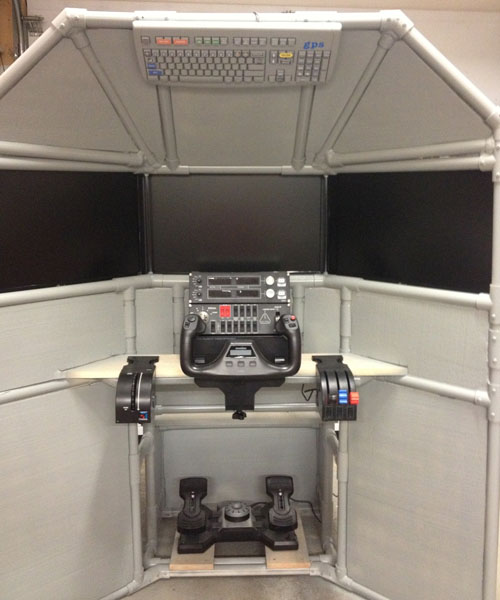
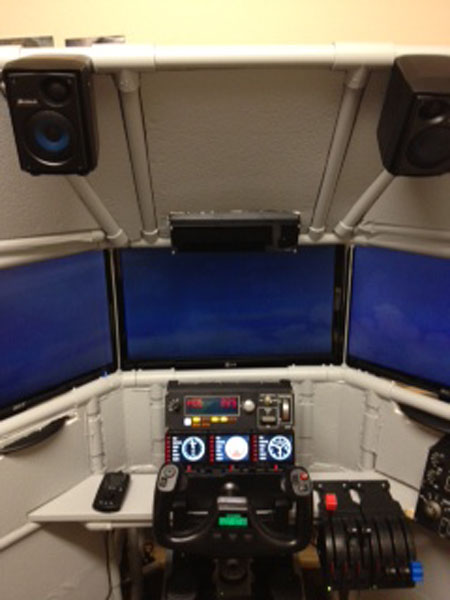
Josh put a lot of work and special modifications into his DIY Triple Screen Flight Sim project. He even added a fourth monitor to use as his overhead
panel! He also incorporated Saitek switch panels and low-profile speakers. The gray pipes look stunning with the dark body panels.
Phenomenal work, Joshua ! ! !


RICHARD W.
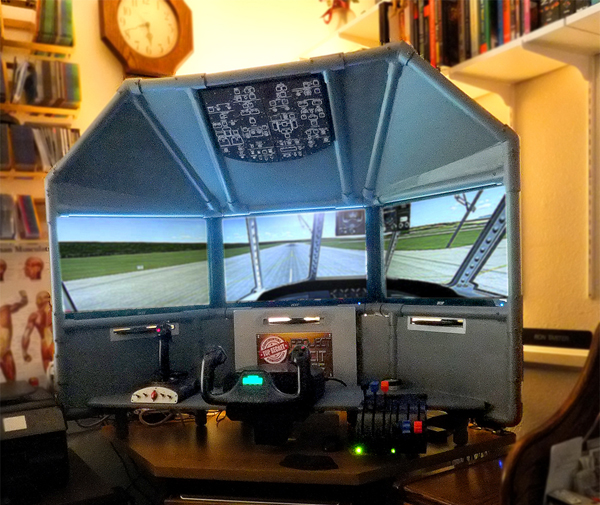
Richard build the DIY Triple Screen Flight Sim, but he wasn't done there. Look closely and you will see he added a fourth monitor to display the flight instruments. Very smooth fuselage finishing too.
Nice craftsmanship, Richard !
STEVEN
Steven built a beautiful DIY Triple Screen Flight Sim and included Saitek control panels. He also added the Saitek elevator trim wheel! I'm a big supporter of the trim wheel and I'm happy any time I see it in a customer's project.
Very nice work, Steven!
WAYNE
Wayne constructed a very nice DIY Triple Screen Flight Sim with the DIY Airliner Keyboard Mod. He says, "Finished my Triple Screen Flight Simulator and had a great time building it. I have attached a picture. I have had some good reviews from facebook, maybe I will get to send some business your way."
Thanks for the support, Wayne!
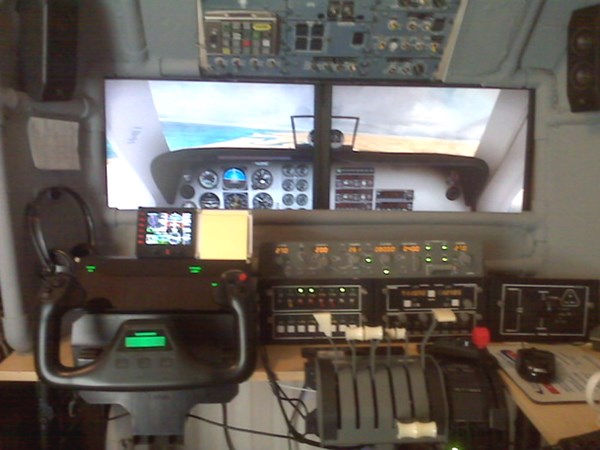
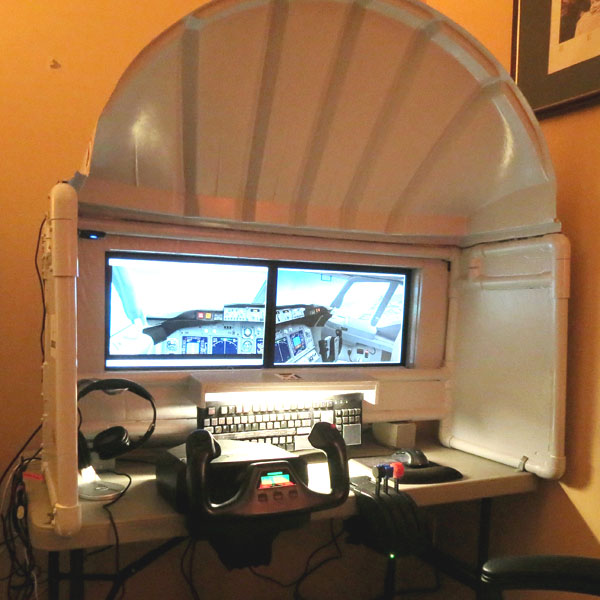
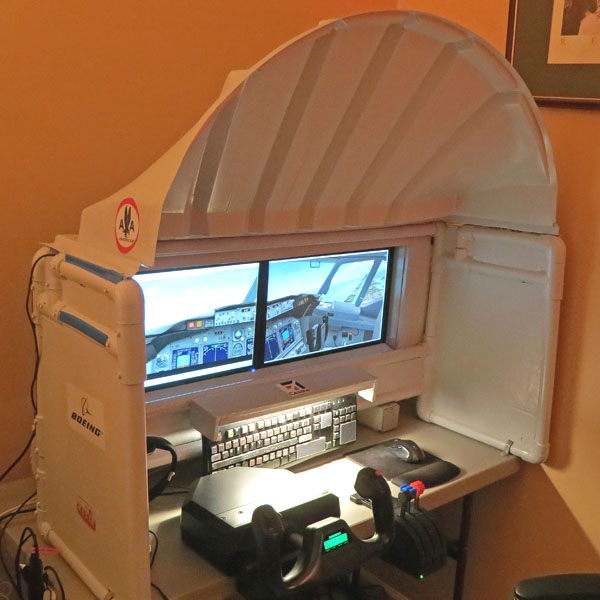
RON
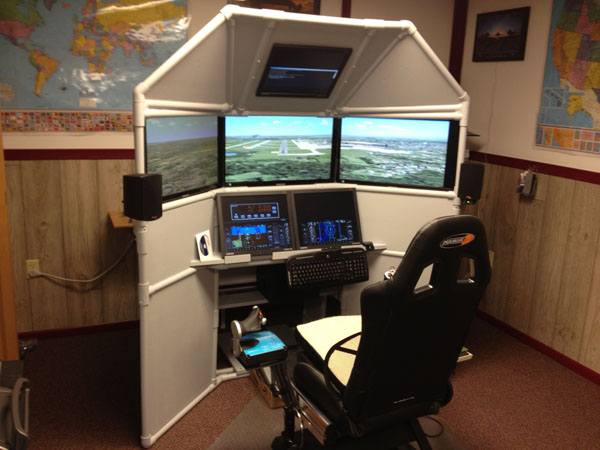
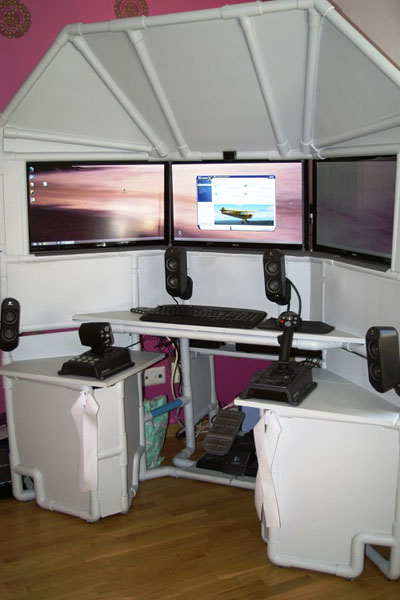
Ron modified a T440 DIY Triple Screen Flight Simulator so it can fit on his desktop. This is a clever adaptation of the Triple Screen concept and it's compact enough to fit on a corner desk.
Excellent work, Ron ! Have fun flying!
RICHARD, CANADA
Richard incorporated several Saitek switch panels into his DIY Triple Screen Flight Simulator ,and the result is beautiful!
Excellent, Richard! I wish you many happy landings!
OLA
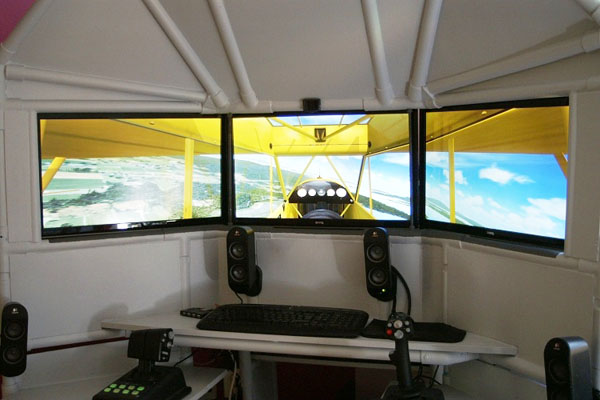
Ola made some clever modifications to his DIY Triple Screen Flight Simulator to reflect his favorite type of flying. He likes flying light aircraft like the Piper Cub over the beautiful countryside.
Check out his Logitech G940 HOTAS Flight System (joystick, throttle, and rudder pedals). Read more about Ola's project at this blog post.
Excellent and attractive modifications, Ola ! Thanks for the pictures.
RYAN
Check out this Eagle Scout Service Project! Ryan raised funding, built this project and donated it to the JROTC classroom at his high school. This classroom is used for the United States Air Force Junior Reserve Officer Training Corps and Ryan modified the #T440 Triple Screen Flight Sim for this project. Ryan is a teenager and it's great to see flight sim cockpit builders this young.
Congratulations on your fine work and the your new rank of Eagle Scout!
JERRY
"Just wanted to let you know how glad I am that I purchased the cockpit instructions. This is an excellent product, and I highly recommend it to anyone." Jerry started with a single DIY project and has repeatedly upgraded and expanded his flight simulator, and has built a helicopter simulator too. You can see his latest progress at his blog.
JORGE, New Jersey
Jorge built the DIY General Aviation Keyboard Mod #K172 and the DIY Easy Airliner #222. He says, "I would like to thank you the excellent manual of how to modify a keyboard (General Aviation) The instructions are easy to follow and with a little patience easy to complete. It works great! I incorporate it to my flight sim. Make the flying less complicated and a little easy with time to concentrate in flying. Happy and safe flying!".
Great job, Jorge !
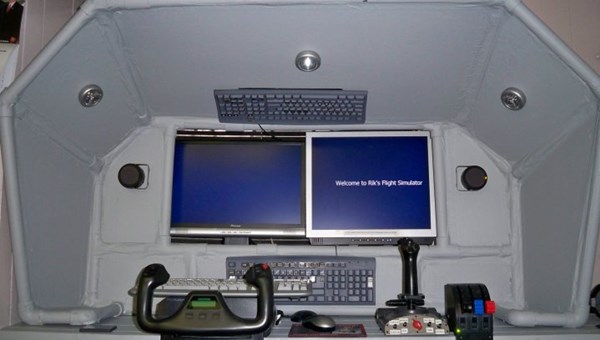
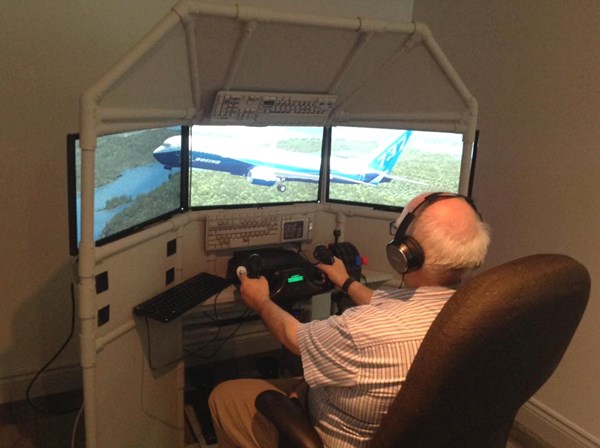
RIK
Rik built the DIY Universal Airliner to complement his dual-monitor flight simulator. He added some fun details too like the speakers and cockpit lighting. Great action in this Facebook video
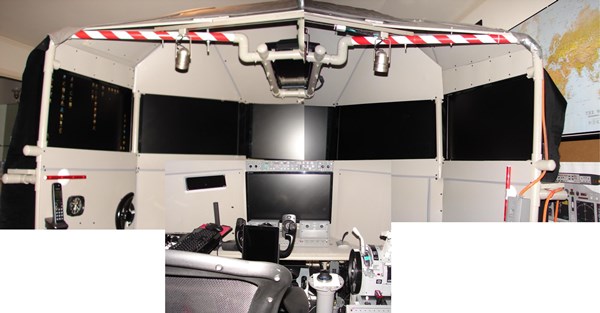
FRANK
He was inspired by the instructions for the DIY Triple Screen Flight Sim. Now it has 7 screens! It's so big, it can't all be in one picture, so I spliced three pics together. "Here are some pics of the enclosure I made using the plans I purchased from your site – I call it the “Flightsim Cockpit Enclosure On Steroids.”