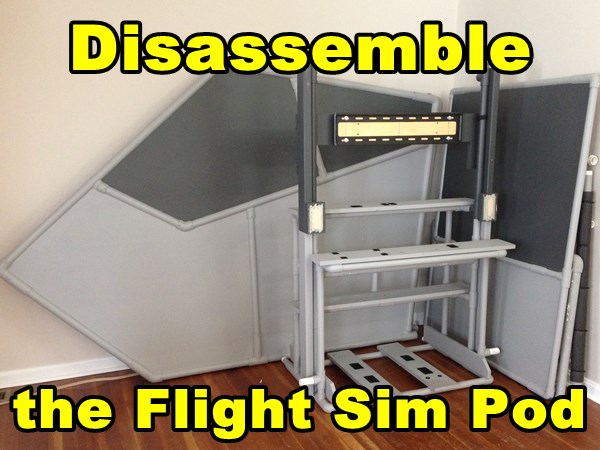
How to Disassemble the DIY Flight Simulator Pod – Enclosed Flight Sim
The DIY Flight Sim Pod is a fully enclosed flight sim cockpit and your view is completely filled with the simulated environment. Therefore, you don’t see the other things in the room like furniture, book shelf, plants, etc. You fly in a totally immersive environment. In addition, when you strap into the Pod to start a flight, it really feels like you’re preparing to go somewhere. It’s relatively easy to disassemble the Flight Sim Pod because it’s a modular structure. This is how to disassemble this enclosed flight sim.
Enclosed Flight Sim Components
The entire project includes three major assemblies, three subassemblies, flight simulator hardware (including computer), and displays.
Major assemblies
- Inner Frame
- Left fuselage side
- Right fuselage side
Subassemblies
- Nose cone (top and bottom)
- Top Canopy with Bumper
- Tail
Disassemble the Enclosed Flight Sim
Start by removing the Tail, Top Canopy with Bumper and Tail. The Bumper is simply the single padded PVC pipe that attaches the Left and Right Fuselage Sides just below the Top Canopy. Unscrew the self-drilling screws as needed to free the PVC fittings.
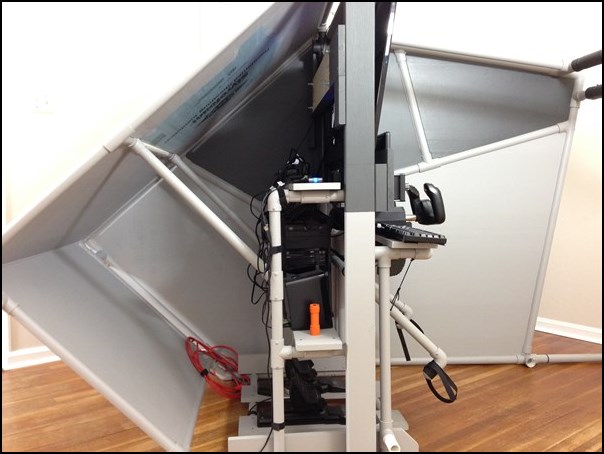
Next, remove the Left and Right Fuselage Sides. This leaves the Inner Frame still packed with computer hardware and displays. Again, unscrew all self-drilling screws necessary to free the applicable fittings.
Carefully remove the 40” HDTV main display, cushion it, and place in moving box. Do the same with the instrument panel display. Finally, remove and box all computer hardware and flight controls.
Disassemble the Inner Frame
The Inner Frame consists of lumber and PVC pipe and is consequently the strong center structure of the enclosed flight sim. The Nose Cone is the pipe and foam structure that attaches to the front of the Inner Frame.
The top and bottom of the Nose Cone is glued together. However, you can separate the bottom Nose Cone panel by cutting just under the point of the Nose Cone. Cut from across the top edge of the bottom Nose Cone panel and also the top corners around the fittings. This will separate the top and bottom of the Nose Cone leaving only the fittings to hold them together. Remove self-drilling screws as required.
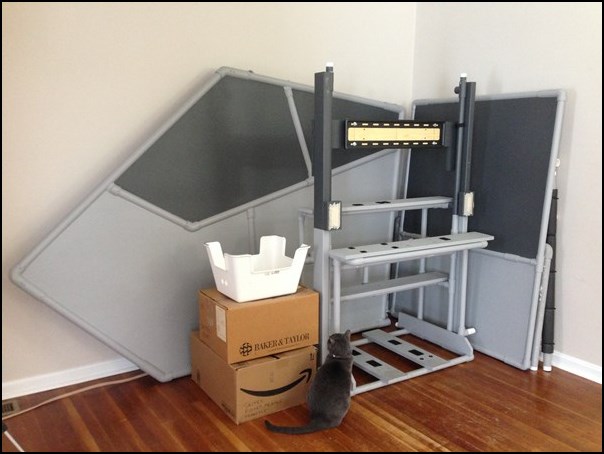
The Pod on the Move
If you load the Pod into a moving van, note how many of the parts can lay flat. Even the Inner Frame doesn’t take up much room because it’s like a shelf – you can load boxes onto it. Your flight sim controls will all fit into boxes as shown in the picture.

Recent Comments