Maker Faire Kansas City

Flight Simulator at Maker Faire: Video

A Maker Faire is a festival of invention and creativity. In the words of Make Magazine it is, “an all-ages gathering of tech enthusiasts, crafters, educators, tinkerers, engineers, science clubs…” You would totally expect to find a DIY Flight Simulator at Maker Faire. We didn’t just bring one, we’ve brought four flight sims to Maker Faire so far. I say “we” because several friends helped me. There’s no way I could have done this alone.


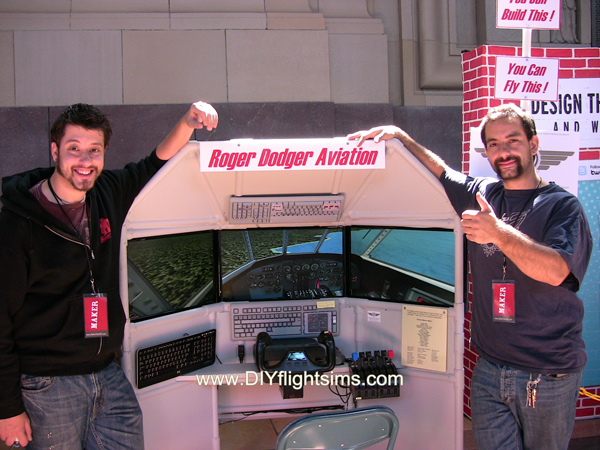
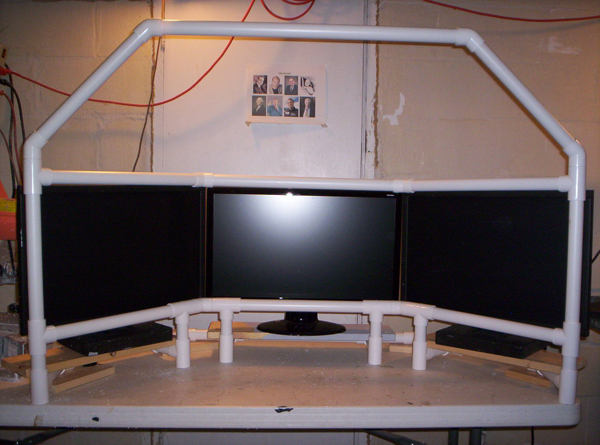
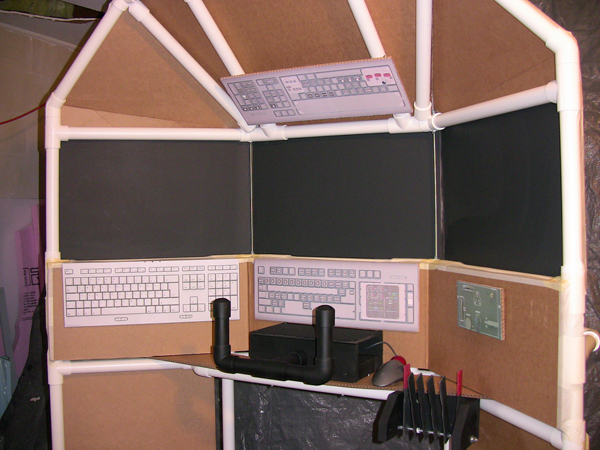
DIY Triple Screen Flight Sim at Maker Faire

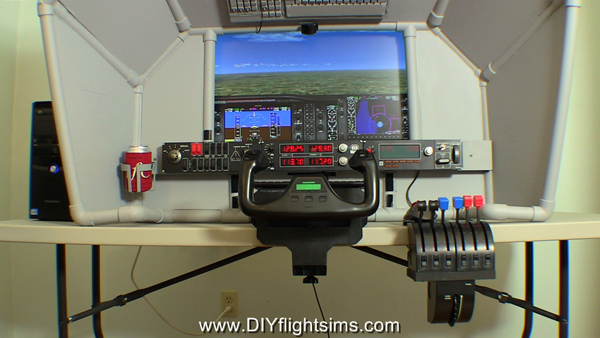
I funded the development of the T440 Triple Screen Flight Sim with a successful Kickstarter Campaign and I barely finished it in time for Maker Faire. Transporting a flight sim of this size was a terrible logistical challenge, but we did it. The T440 worked perfectly and it was a huge thrill for me to see a crowd of people around the simulator all weekend. So many people, young and old got to try it out.

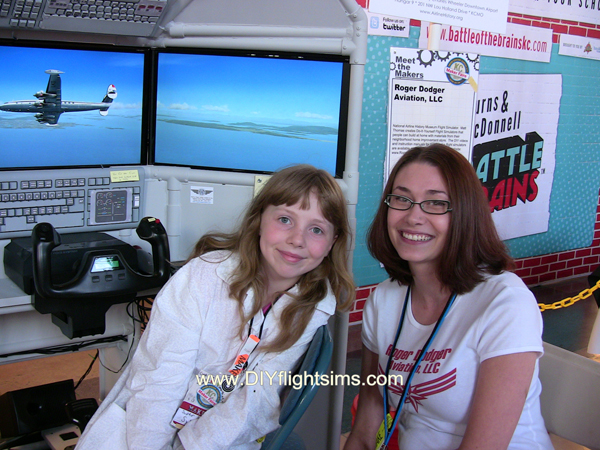
Immediately after Maker Faire, we loaded the T440 into a Uhaul truck and took it to the National Airline History Museum, where it still operates today as a hands-on attraction for the museum guests. I created a complete instruction manual and video for this project so you can build one for yourself. This is one of my most popular products.

My goal was to deploy a flight simulator at Maker Faire and I did it, but it was way too difficult to transport for just a weekend event. This experience at  inspired me to develop a much more mobile flight simulator.

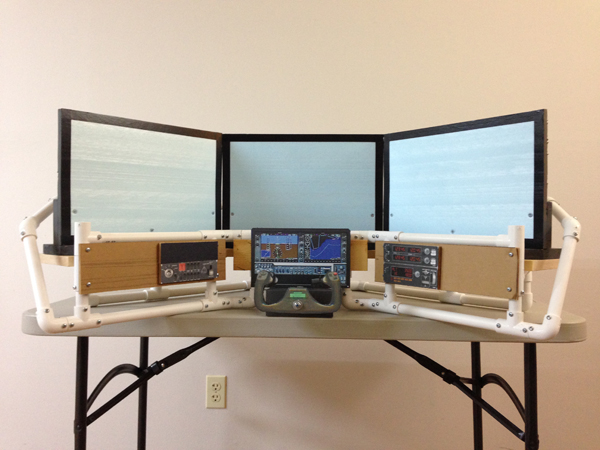
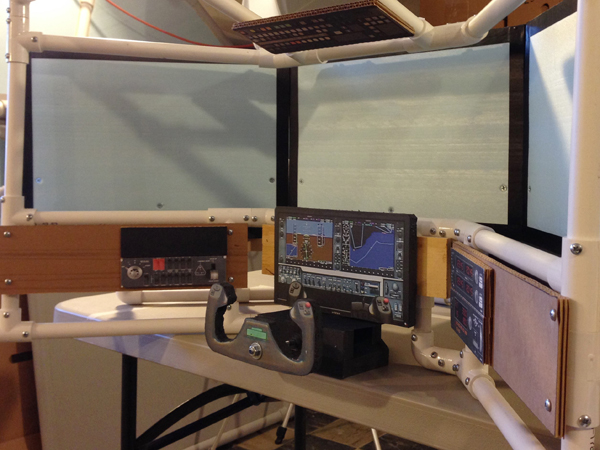
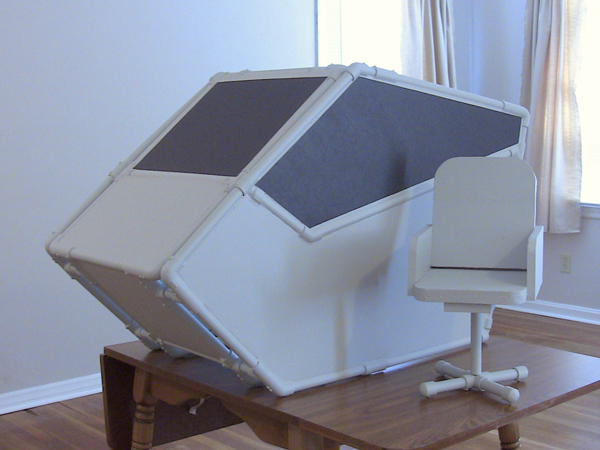
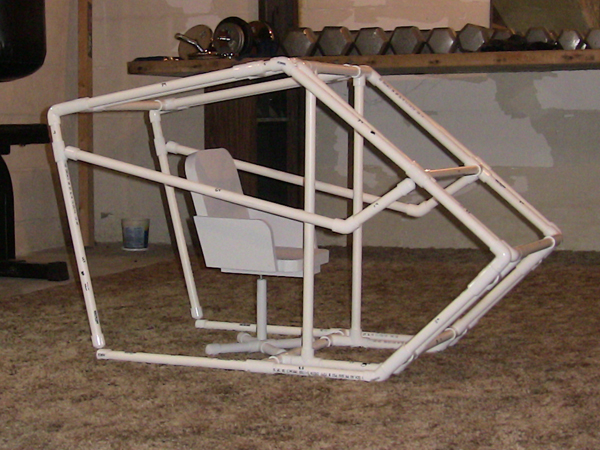
DIY Roll-Away Flight Sim: Three Versions!

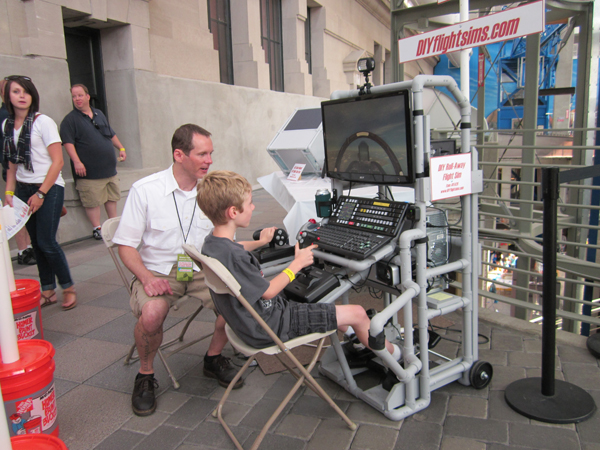
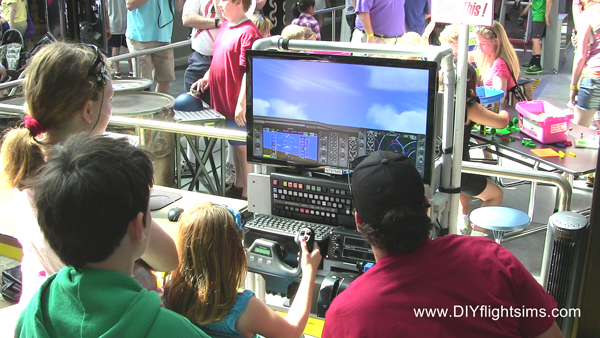
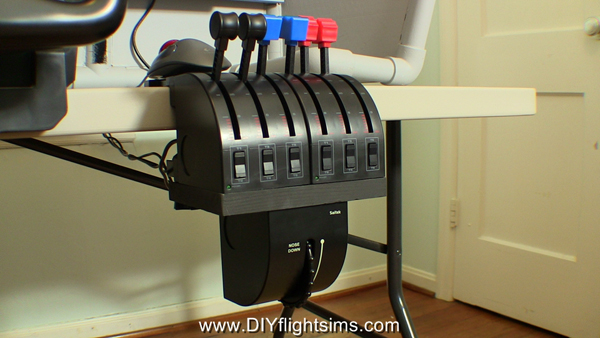
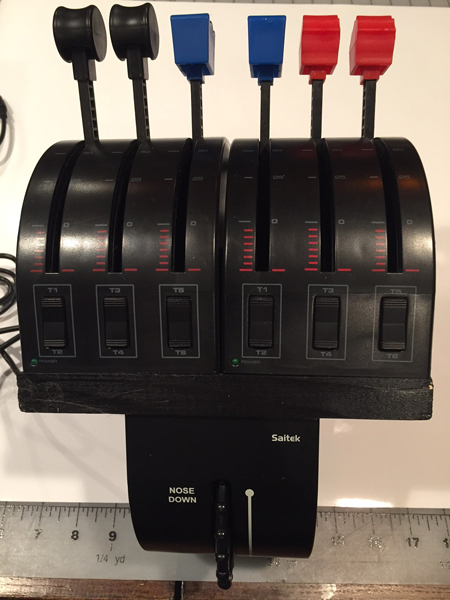
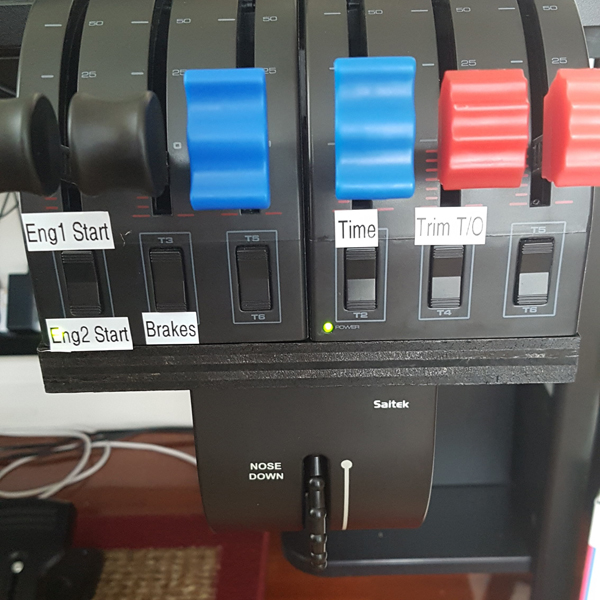
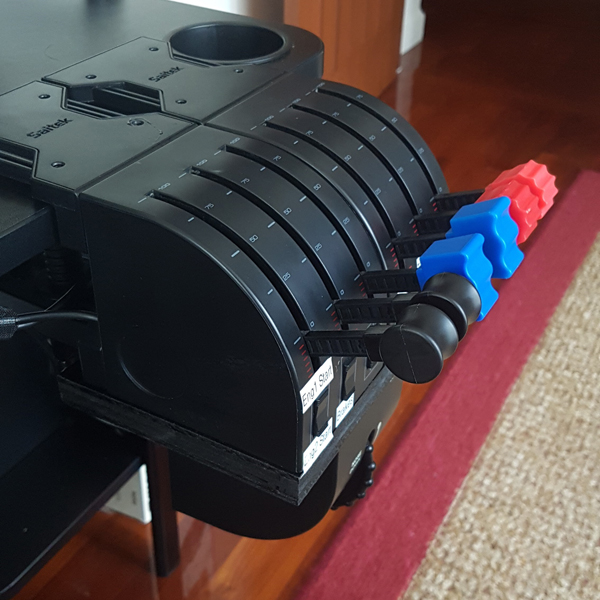
Problem: it was too difficult to transport a flight simulator at Maker Faire. Solution: I developed a much more mobile flight simulator that could be moved as a single unit… on wheels! A Roll-Away Flight Simulator! The first version of the E420 Roll-Away was basically a HOTAS set up to fly a jet fighter. The kids at Maker Faire loved it and is was super easy to transport. I was so pleased with this that I brought two Roll-Away Flight Sims to the next Maker Faire. The second version had a yoke and throttle quadrant and later became the E430C. You can build either of these two types of Roll-Away Flight Sims with the instruction manuals and videos I created for you.

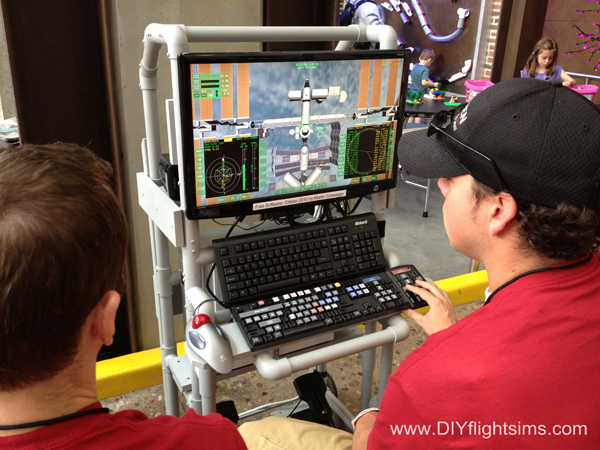
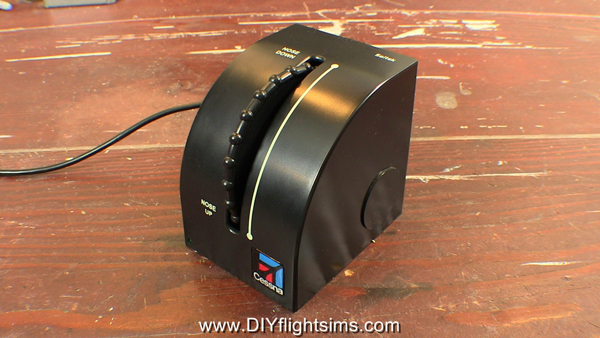
The third version of the Roll-Away Flight Sim was a specialized type I created for kids at a science camp. I later brought it to Maker Faire. This version had no flight controls, only buttons to control a simulated spaceship. We used Martin Schweiger’s Orbiter as the demonstration software. The simulator is very realistic and teaches you a lot about Newtonian physics when controlling a spaceship in zero gravity.


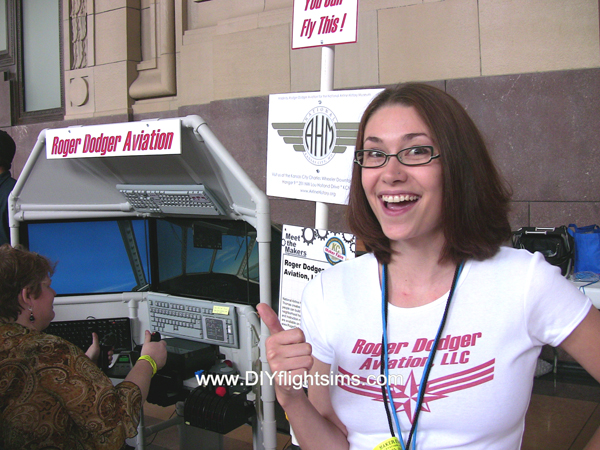
Big Help from Friends

Notice there are several people in these pictures that are not me. I could not have done this alone. We helped hundreds of people try out these flight simulators, and had a lot of fun while we were at it. Many thanks to Aaron, Nick, Jim, Lindsy, Julie, Joe, Jason, Shannon, Michael, and Jennifer!

How to Build a Prototype DIY Simpit

How to Build a Prototype DIY Simpit

One of the common questions I get is about altering the DIY Flight Sim designs. Most builders modify the designs in some way to match their specific needs or equipment. For examples, take a look at Customer Gallery 1 and Customer Gallery 2 and notice how no two Simpits are alike. Once a builder deviates from the plans, the project becomes a prototype DIY simpit. There is no way I can predict how people will modify my DIY Flight Sim projects, so that is why I use building materials that are inexpensive and easy to use. Don’t be scared! Prototyping is a wonderfully creative process that can give you real satisfaction with your project.

What Does “Prototype” Mean?

You don’t really know if a flight sim design is going to work until you build it in real life. Really! If some anonymous person on a forum says an idea will work or not work, they don’t really know, because anyone can type words on a screen. You only gain true knowledge by building a DIY simpit in real life. That is prototyping.

So when someone asks me if a design modification will work, I’m very cautious about my answer for several reasons…

  • I don’t know if my understanding of their message matches what they’re imagining.
  • I don’t know if a proposed modification will require an additional structural reinforcement.
  • I don’t know someone’s skill level. Have they built things before, or is this the first time?
  • I don’t know if they have adequate tools. Are they building in a workshop or a dorm room, etc?

Prototyping means you try your idea, then adjust it and try it again, then adjust it and try it again, and keep at it until you are happy with your work. Fortunately, PVC pipe is a wonderful material for prototyping a DIY simpit (more about that below).


Scale models

When I am designing large DIY simpit projects I make a scale model of my idea. As a result, this helps me find any major flaws and get a feeling for what it will look like before I build it full size. I use 1/2″ PVC pipe when I build a scale model. The smaller pipe saves me money because I use less 1″ pipe when I later build the full size prototype.

I also make scaled down controls, displays, and switch panels. This isn’t Computer Aided Design, but I still call it CAD: Cardboard Aided Design.


7 Steps for Prototyping a DIY Simpit

So how do you modify a DIY Flight Sim project if you need to scale it up or scale it down? Here’s an example. Let’s say you want to build the D250 Deluxe Desktop Flight Sim. However, the project is built around 32″ HDTVs but you want to use 27″ monitors. How do you scale this down?

  1. First of all, buy an extra length of pipe in case you need it (PVC pipe is cheap)
  2. Scale with a percentage.  27″ is about 16% smaller than 32″ Here’s the math: 32 – 27 = 5 and then 5 / 32 = .156, which is about 16%
  3. Decrease the measurements of pipes by that same percentage. Only scale the pipes adjacent to the displays, for now.
  4. Cut the pipes and assemble them with the PVC fittings. Start with just the pipes adjacent to the displays. Observe if the frame fits well compared to the displays or if you need to make changes.
  5. If some pipes are a little too long, remove them and cut them shorter. If some pipes are too short, that’s why you bought extra pipe. It’s easy to assemble/disassemble the PVC pipe frame to test different frame dimensions.
  6. Once you have pipe lengths that you are happy with, secure the PVC fittings with self-drilling screws.
  7. Scale the rest of the pipes to fit with the part of the frame you changed. This is much easier now that you have a starting point.
Saitek Trim Wheel Adapter Template

Build a Saitek Trim Wheel Adapter

You can install the Saitek Trim Wheel underneath dual Saitek Throttle Quadrants… but only if you use an adapter plate. I made instructions, a DIY video, and a template to help you build a Saitek Trim Wheel Adapter  just like the one you see in the pictures.

I’m very happy with the Saitek Trim Wheel mainly because proper elevator trim is such a vital and basic skill in real flying. We are lucky that an inexpensive and robust trim wheel is readily available for our home flight simulators. Unfortunately, there is no way to clamp the stock Saitek Trim Wheel to a reasonable location. Believe me, I tried. A pilot should be able to adjust the elevator trim without looking for it the trim wheel. As a result, most trim wheels in real airplanes are located under the throttle or next to the pilot seat. Therefore, I made this Saitek Trim Wheel Adapter plate so you can install your trim wheel in a very natural location for your home flight simulator.


You Can Build a Saitek Trim Wheel Adapter

Take a look at these two examples of Saitek Trim Wheel Adapters built by Flight Sim enthusiasts just like You! Most noteworthy, you will see their Adapters look exactly like the one I built. They used the exact same build template that I offer free on my website. Many thanks to builders Dennis and Ben for sending me their pictures. I would love to see your finished Adapter too. If you build one, please send me pictures of your project to diyflightsims@rogerdodger.net.


Download the Free Template

Build your own Saitek Trim Wheel Adapter. Start by downloading and printing out the template. Get the template free by signing up for my monthly newsletter, the Roger Dodger Insider. You will be the first to know about product updates, sales, building tips, and more. It’s a monthly email so you won’t be bombarded with a bunch of stuff in your inbox and you can unsubscribe at any time. Become a Roger Dodger Insider here.