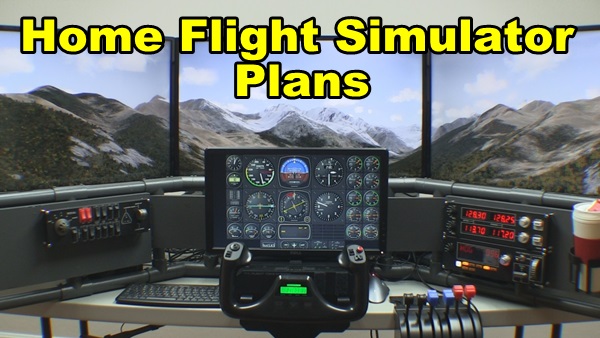
Home Flight Simulator Plans – How to Install Larger Displays
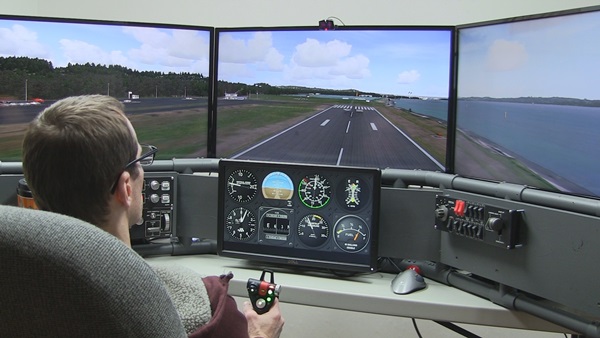
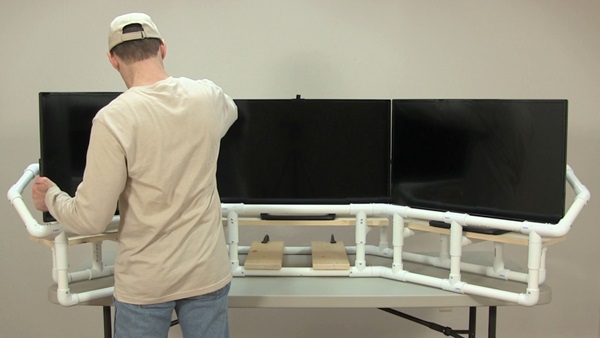
The DIY Deluxe Desktop home flight simulator plans are designed around three 32” HDTVs used as the main displays. But what if you want to use displays that are larger (or smaller)? Many DIY Flight Sim builders modify the plans to match their unique requirements. Furthermore, PVC pipe is a great material for experimental trial-and-error. It’s no wonder so many builders modify their projects.
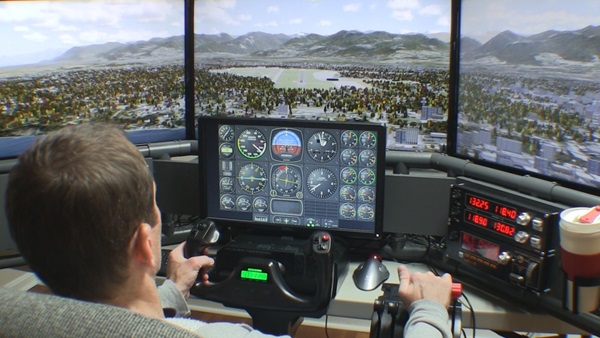
DIY Deluxe Desktop Flight Sim
Home Flight Simulator Plans
Gary is a DIY Flight Sim builder. He developed a useful spreadsheet to use when using larger (or smaller) displays with the DIY Deluxe Desktop home flight simulator plans. He was kind enough to share it with me, so I’m providing it to you in the course content. First of all, Gary’s spreadsheet is really clever. You simply enter in the dimension of the displays you want to use and then spreadsheet calculates how much to change the affected PVC pipes. Also the relevant pipes are identified in a new Pipe Frame Map.
You still may require a little trial-and-error because different PVC manufacturers make the fittings differently. Fortunately, PVC pipe is inexpensive and easy to work with.
Frequently Asked Question: “What is the best and cheapest way to build a home flight simulator? BTW, don’t have much money.”
Answer: Fortunately, you can build an exceptional DIY Flight Sim with a little work and some planning. It might cost a lot less than you think.
The Best and Cheapest Way to Build a Home Flight Simulator
The home flight simulator of your dreams may seem a daunting and far-away goal. However, following this tried-and-true method, you can divide a huge job into small, workable, steps. Plan the work and work the plan: this is the best and cheapest way to build a home flight simulator.
Step 1: Plan Ahead
How much is this all going to cost? Before you pick up your credit card, pick up a pencil and figure this out. I made this really easy for you with the DIY Flight Sim Budget Tool. It is a flexible method for determining cost and takes into account components you may already have. Once your budget is in place, it’s easy to identify where you can save money.
In addition, an organized plan can help you get support from your spouse.
Step 2: Use What You Got
Want to know the best and cheapest way to build a home flight simulator? You may be able to re-purpose, repair or modify some components you already have. For example, you might re-purpose an old desk for use with your home flight sim by painting it. You will be delighted at what an inexpensive can paint can do.
Pro tip: online flight sim retailers run a sale every month or two. You can get discounts on software and also flight sim controls and peripherals. In addition, check individual manufacturer and developer websites for sales. And don’t forget Steam.com!
Finally, shop Amazon. When you place an item on your Wish List, it will alert you if the price falls.
Step 4: Source Local Materials
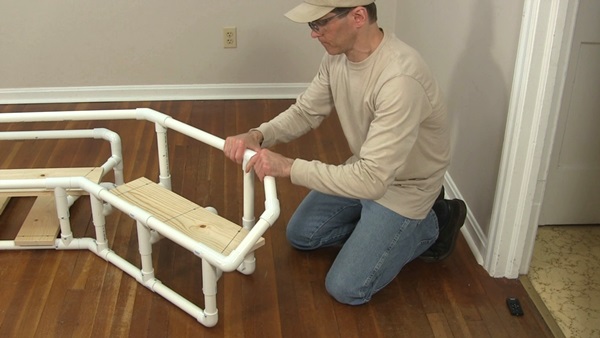
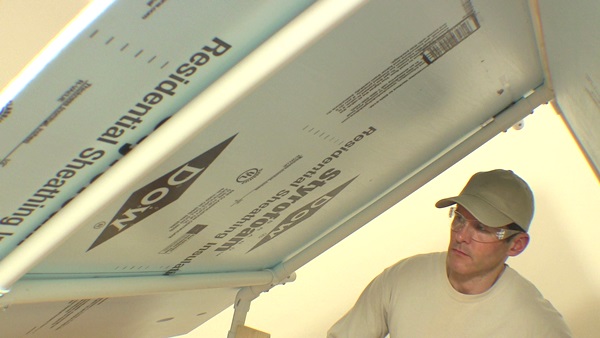
You can build impressive, functional flight sim frames and enclosures with materials from your local home improvement store. All you need are common hand tools that you probably already have. It’s easy to build with PVC pipes, Styrofoam insulation, and wood boards. This is, by far, the best and cheapest way to build a home flight simulator.
Check out the Builder Academy for a wealth of information on using inexpensive materials for home flight sims. You can enroll for free!
Don’t forget to keep your receipt from the home improvement store. You can easily return any materials you don’t use.
Building with PVC pipe
Building with Styrofoam panels
Step 5: DIY Flight Sim Online Tutorials
Know what to expect before you even start the project. These online courses show you every step of the building process with video clips, diagrams, pictures, printouts, and complete instructions. The tutorials are the least expensive part of your project, but most of all, they save you money and frustration with your project.
My customers finish their projects and get back to flying!
Proper flight sim painting will make your home flight simulator look finished and professional. The paint has an almost magical transformative effect. Most importantly, it turns a framework of pipes, wood, and foam into a complete, comprehensive aviation solution. Check out these # tips for flight sim painting.
Tip 1: Materials
It’s actually inexpensive to paint a DIY Flight Sim project, so it’s well worth doing it. Here’s what you’ll need for flight sim painting:
Latex primer. Ask the paint associate at the store to tint this to your desired color. Latex primer covers well and it dries with a flat sheen (not glossy).
Paper towels and a household cleaner like Formula 409 or something similar. Clean the PVC pipe frame before painting. PVC pipe can be rather dusty, even when it’s brand new.
Disposable 2″ wide paint brushes for the pipe frame. These can be re-used and then later thrown away.
3″ wide paint rollers (and handle) for foam body panels. If you have many wood boards to paint, then also use the rollers for those. If you only have a couple of boards, the brush will do.
Paint tray for the rollers.
Plastic drop cloths to catch drips.
Scrap boards to prop up the frame for painting.
Quart ziplock bags and gallon ziplock bags.
Tip 2: Tint
Yes, you can tint latex primer. The store clerk might tell you that the color may not turn out exactly the same as the paint chip because it’s primer. That’s ok, just tell them you are a pro at flight sim painting and you know what you’re doing.
Here are the colors I use:
Dover Gray D58-4 by Olympic. This is a light gray that I use for nearly all of my DIY Flight Sim projects.
Knight’s Armor D25-5: This is a dark gray that I use for the windows of the DIY Flight Sim Pod and the frame for the DIY Deluxe Desktop Flight Sim.
You don’t have to use these exact colors for your flight sim painting project. One builder reported a problem using Olympic paint + primer combo on PVC pipes. He said it did not to adhere adequately to the PVC. On the other hand, I haven’t heard of any other builders that encountered that problem. It might be best to just stick with regular latex primer.
Tip 3: How Many Coats?
I usually end up putting three coats on a flight sim painting project. Especially when it is a simple PVC frame like Item #F311 DIY Side Joystick Frame. First of all, start painting the frame right side up and allow it to dry. Next, turn the framework upside down and you’ll see all the places you missed. Apply another coat and allow it to dry. Finally, flip the framework right side up again and apply the final coat.
Usually, I remove the wood boards from the frame, label them, and then paint them separately. That’s actually much easier than keeping them in place.
Tip 4: Keep Fresh
You can use your brush and roller multiple times without worrying about them drying out. Simply put the brush in a quart size ziplock bag and keep it in your refrigerator between coats. Push out as much air as you reasonably can from the bag. The same works for the paint roller, but use a gallon sized ziplock bag. Therefore, you can use the brush and roller as many times as you need during your flight sim painting project. Finally, then throw away the brush and roller when you’re finished.
Tip 5: Why not Spray Paint?
Why don’t I recommend spray paint for flight sim painting? Using spray paint on a PVC pipe frame is actually pretty difficult. It’s hard to paint pipes, because you always miss a spot and you end up applying 5 or 6 or more coats. Plus, you need adequate ventilation for spray paint.
Latex primer, on the other hand, is safe to use indoors. This is especially important because many DIY builders work on their projects during the winter months.
Tip 6: Light
Finally, make sure you have good lighting so you can catch the drips or any areas you may have missed. This is common sense, but many people ignore it. I recommend you set up additional lights around your flight sim painting project.
Flight Sim Painting Tips
You can learn more about this topic and many others in the Builder Academy. You’ll also receive updates about new, free DIY Flight Sim content.


Recent Comments