
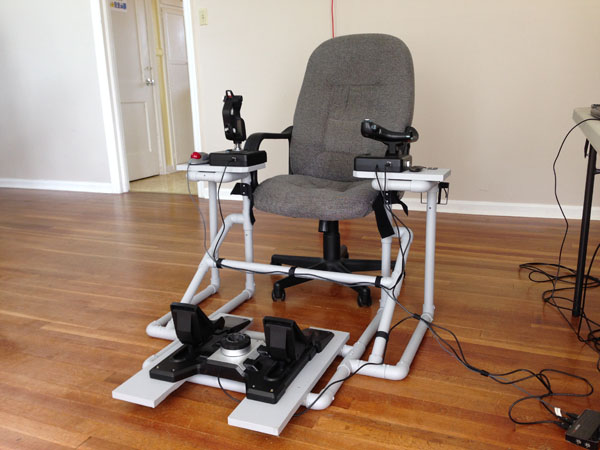
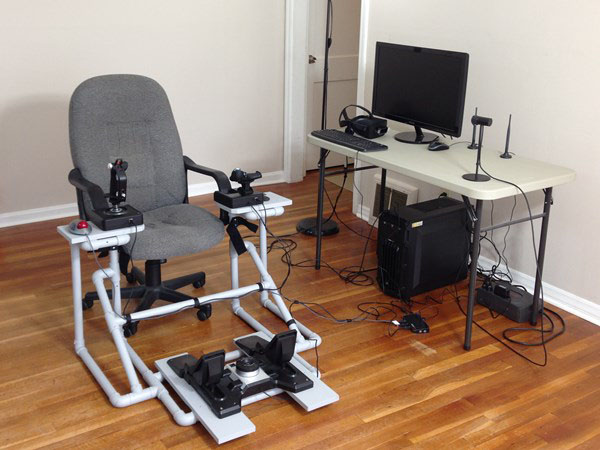
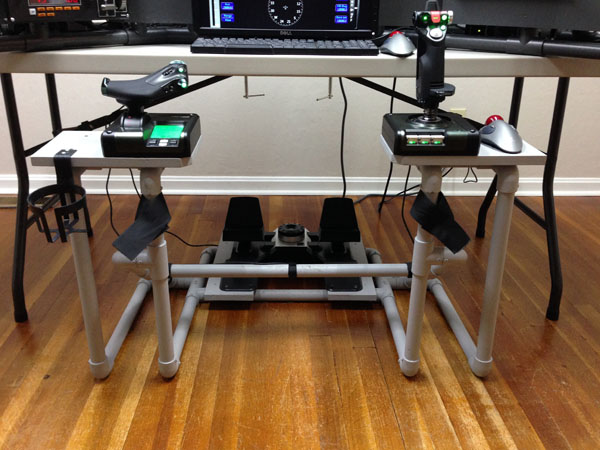
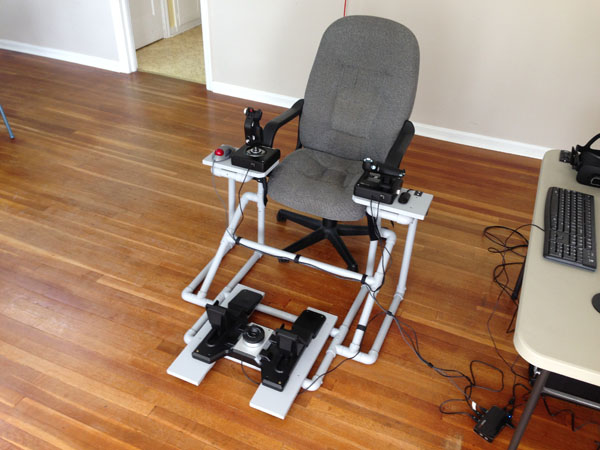
Logitech Saitek X52 Joystick Spring Modification
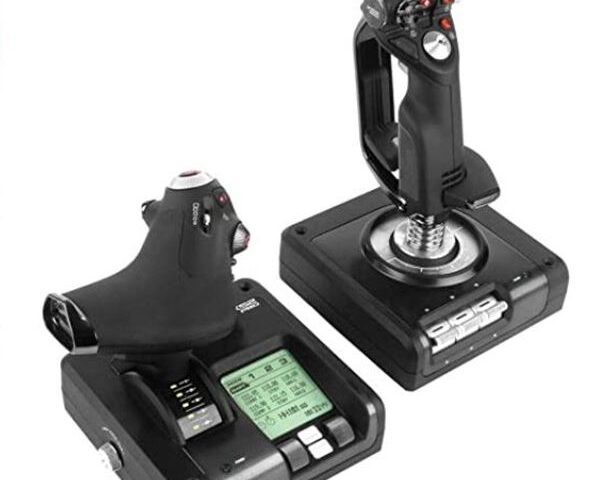
I was so excited to receive my new X52 Pro HOTAS joystick and throttle, but then I discovered they just don’t make them like they used to. So I bought the Logitech Saitek X52 Joystick Spring Modification kit from Ebay.


Why Use the Logitech Saitek X52 Joystick Spring Modification?
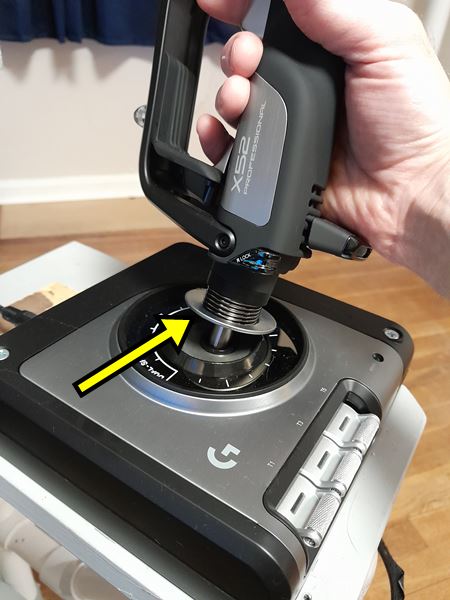
I bought a brand new X52 Pro joystick and discovered it is way too loose in the center of the joystick travel where the spring tension is the weakest. The weak spring tension causes the pilot to overshoot control inputs right where they need to make precise adjustments. Fortunately, TerraVestra’s Spring Plate kit was the remedy I needed. The kit is inexpensive, 3D printed, easy to install, and made in the USA.
How to Install the Logitech Saitek X52 Joystick Spring Mod
The kit includes four spacers of different widths that correspond to four different spring tensions. I used the 5mm wide spacer, which is the widest. If you need more spring tension than that, you can also stack the spacers on top of each other. The spacers fit on both the Logitech X52 and the X52 Pro. The manufacturer includes a handy installation tool. Bonus: this does not void the warranty and you don’t have to disassemble anything.
Here is the installation video, which is also available on their Ebay listing.
Let’s Go Flying!
The increased spring tension helps a lot! The spacer pushes down on the spring which increases tension between the spring plate and the joystick housing. But the increased tension also brings increased friction. I easily remedied this by applying a thin coat of bearing grease to the bottom of the spring plate (see picture). If you don’t have bearing grease, try lithium grease. Lithium grease is probably better for plastic anyway.


Recent Comments