
Inexpensive Motion Flight Simulator for Aerofly FS2 – and why you’ll never see it again
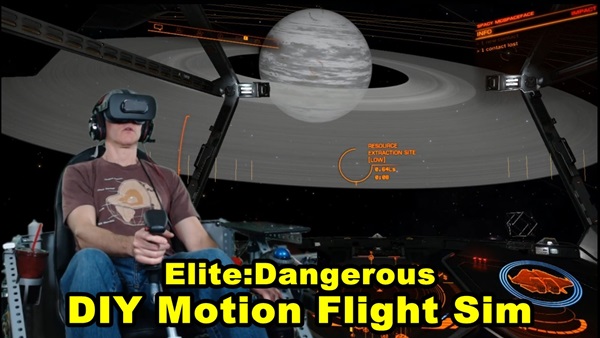
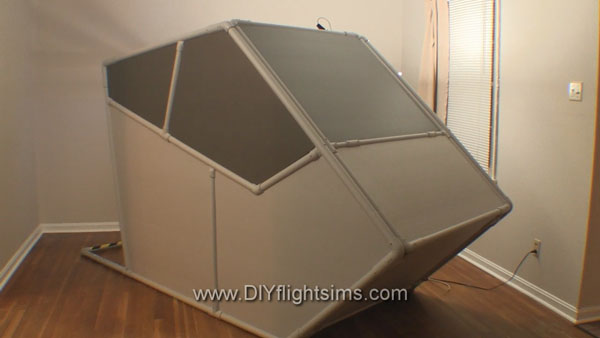
I designed the DIY Kinetic Motion Flight Sim as a direct-control moving platform. As a result, it works with all flight simulation software. It is the only inexpensive motion flight simulator for Aerofly FS2.
Inexpensive Motion Flight Sims for Everyone
My dream is to create a DIY tutorial that shows how to build a motion flight sim. The most inexpensive way to build a one is to use materials from a home improvement store. As a result, you can build a motion flight sim for just a few hundred dollars instead of a few thousand.
Would the flight sim community embrace such an idea? I posted several demonstration videos to gauge people’s reaction. Unfortunately, when I posted a video to the Aerofly FS2 fan group, I only received negative comments. This makes no sense when you consider how a motion flight simulator for Aerofly FS2 improves the flying experience exponentially.
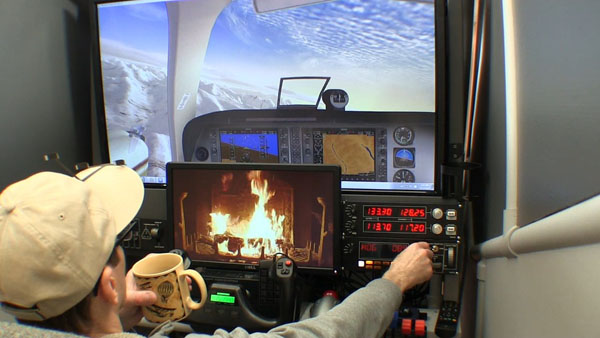
Motion Flight Simulator for Aerofly FS2
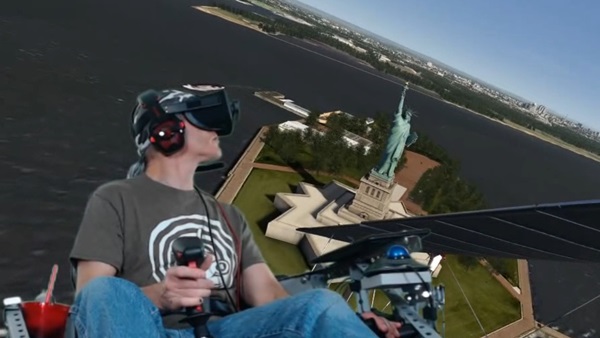
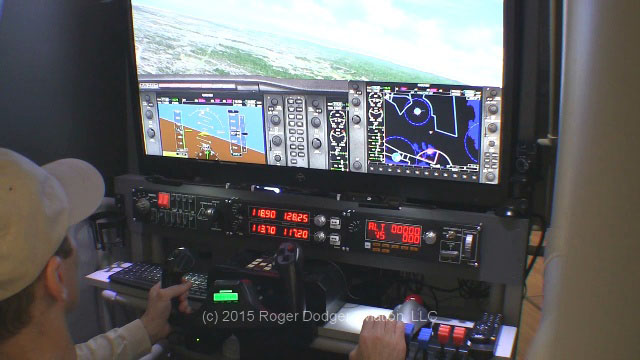
Aerofly FS2 is one of the lesser-known flight sim titles, but it has two things that are essential for virtual reality. Namely, high frame rates with dense, quality scenery. Take a look at the embedded video. I’m flying over New York City over hundreds of buildings, yet the frame rates remain smooth.
Next, imagine what it feels like to add a motion flight simulator for Aerofly FS2. The experience is totally immersive. I thought the Aerofly FS2 user base would recognize how this inexpensive DIY project could enhance their flight experience. I guess I was wrong.
What’s Next
Obviously I won’t be posting any more demonstration videos for Aerofly FS2. However, I’ll gladly continue to use Aerofly FS2 with my motion flight simulator because it’s so enjoyable.
I give extra time and effort to set up the lights, camera, OBS software, etc. when I make a video, and I only want to spend the effort for people that will appreciate my work. It didn’t work out for Aerofly FS2, consequently I will focus on other sim titles like X-Plane 11, DCS World, and IL-2 Battle of Stalingrad.
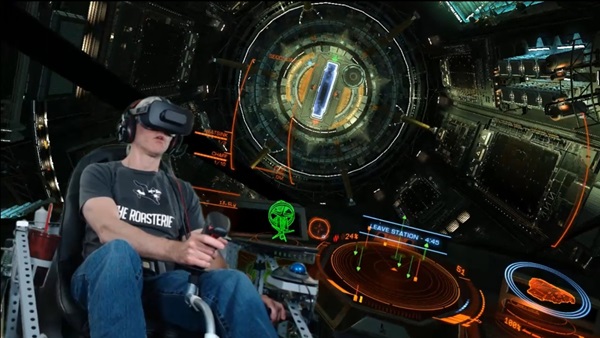
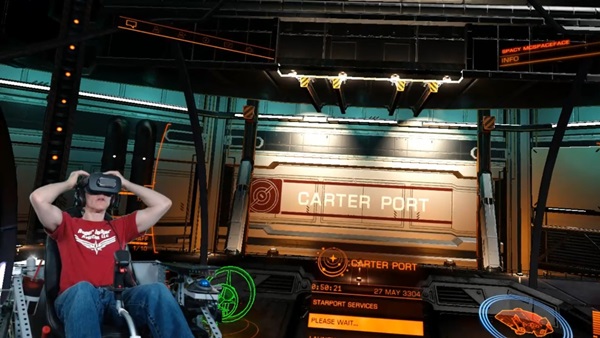
The Elite Dangerous fans are greatly supportive, so I will post more videos for them also.


Recent Comments