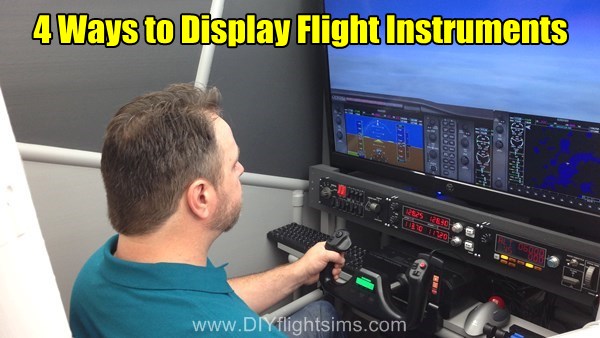
4 Ways to Display Flight Instruments | Flight Simulator Instrument Panel
Developers struggle to create software that displays a legible flight simulator instrument panel, and also present a realistic outside world with scenery that stretches to the horizon. Today I’ll focus on viewing the flight instruments. You have a few options to choose from and each has its own benefit trade offs. It’s up to you to decide which flight simulator instrument panel works best with your particular needs.
TrackIR $140.00
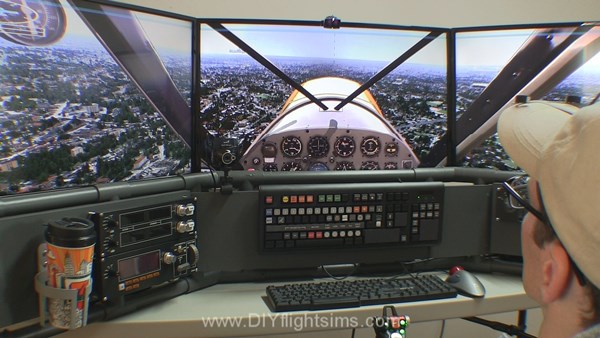
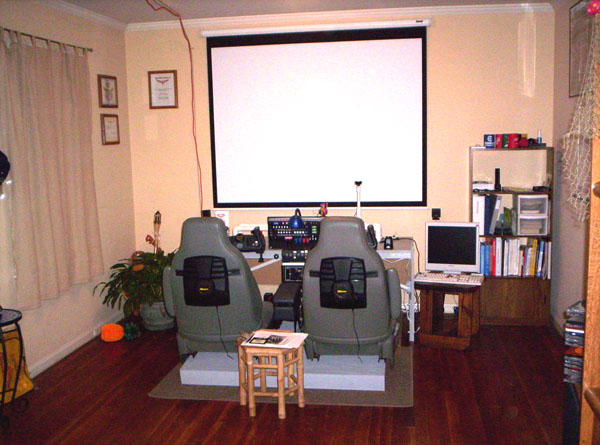
I’ve used TrackIR from Naturalpoint for a long time. It is a view tracking device that allows you to look around the virtual cockpit by moving your head. TrackIR “sees” your head move in 6 axes, also called 6 degrees of freedom. Instead of explaining all 6, I’ll just say your real life head also moves in 6 degrees of freedom, and leave it at that. As a result, you can lean into the flight simulator instrument panel if you want to see something closer. You can also look out the windows, look over your shoulder, look around struts and other parts of the airplane. The picture above shows TrackIR with the DIY Deluxe Desktop Flight Sim.
TrackIR works with a single screen, or multiple screens. It works with a very wide variety of titles: Prepar3D, X-Plane, FSX, Flight Sim World, DTG Flight School, DCS World, even Elite Dangerous, War Thunder, IL2, and many others. In conclusion, TrackIR is very useful but it’s still difficult to use with a GPS or other instruments that require fine tuning.
Moving/resizing windows (free)
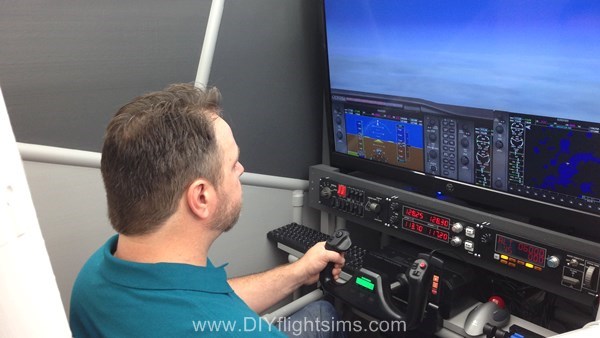
You can move and resize the 2D windows in old FSX and FSX Steam. When you type Shift+1, or Shift +2, Shift+3, etc. then FSX will display different windows that you can move around your screen. You see how this appears in the picture above with the DIY Flight Sim Pod. This trick also works with multiple screens. For example, you could show the outside view on all three monitors, and then in the bottom of your middle screen, show smaller windows with the flight instruments. You can also re-size the windows. That’s all great, except FSX does not save these settings on exit, and you have to set up all your views again the next time you turn on your computer.
However, there is a way to make FSX save the flight simulator instrument panel settings by using a handy freeware utility. More about that here.
Air Manager $77.00 + separate monitor or computer
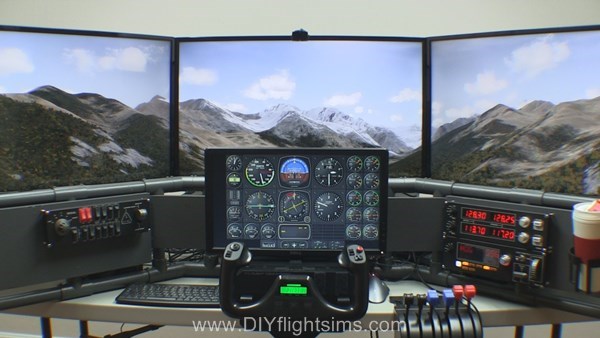
Air Manger works with Prepar3D, X-Plane 9, 10, and 11, FSX and FSX Steam. I’ve personally used Air Manager for displaying the flight simulator instrument panel on a separate screen. What I mean is, a totally separate monitor that is set aside for just the flight instruments. Flat panel computer monitors are so cheap that I literally have 3 in my house just waiting for a project. Air Manager can also work on an iPad or other tablet computer.
Air Manager is very versatile, see it above with the DIY Deluxe Desktop Flight Sim. I run the software on an old, obsolete computer (running Windows Vista) which is connected via network to my flight sim computer. A separate computer means there is zero impact on my frame rates. Download full flight simulator instrument panels, mix and match gauges (free), even create your own (also free).
Saitek Pro Flight Instruments $169.99 each
The most expensive option is the Saitek Pro Flight Instrument gauges. I listed the price, but that is only for one single, physical USB gauge. Consequently, if you want a panel consisting of 6 flight instruments and an RPM gauge, that is 6 x $169.99 = $1019.94. I haven’t personally tried these gauges because they are so incredibly expensive. In addition, you are limited primarily to round-gauge type displays.
Flight Simulator Instrument Panel
In conclusion, there are several ways to display a flight simulator instrument panel and the method you choose will depend on your needs and your budget. Have you tried anything I haven’t listed here? If so, let me know in the comments (you don’t have to log in to comment).


Recent Comments