Bravo Throttle Quadrant from Honeycomb Aeronautical

The New Bravo Throttle Quadrant from Honeycomb Aeronautical

Here’s something we rarely get to say: NEW FLIGHT CONTROLS! The new Bravo Throttle Quadrant from Honeycomb Aeronautical packs a ton of features and options into one affordable unit. It’s a sorely needed solution for the flight sim community.

Throttle Quadrant

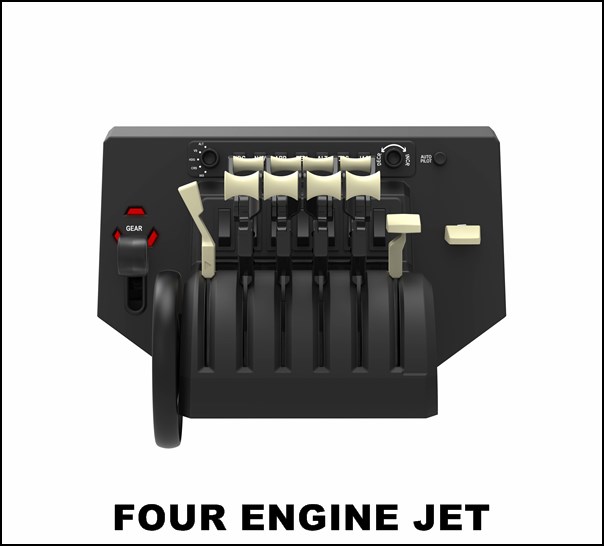
First of all, the Bravo Throttle Quadrant recognizes something that the community has known for a long time: dudes dig jets. Therefore, the six main levers include interchangeable handles that include options for turbine airliners. That’s right – you can set up a Boeing 737 throttle quadrant right out of the box, including spoiler and flap lever. Furthermore, you can set it up as a four engine airliner, and I assume a three engine airliner for you B-727 or L-1011 enthusiasts out there.

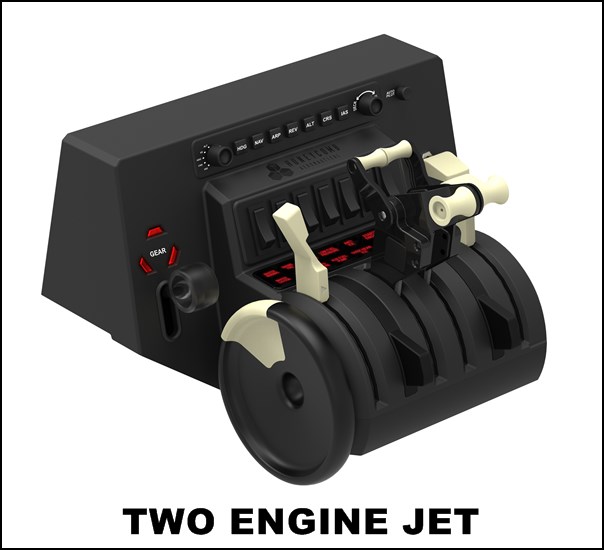
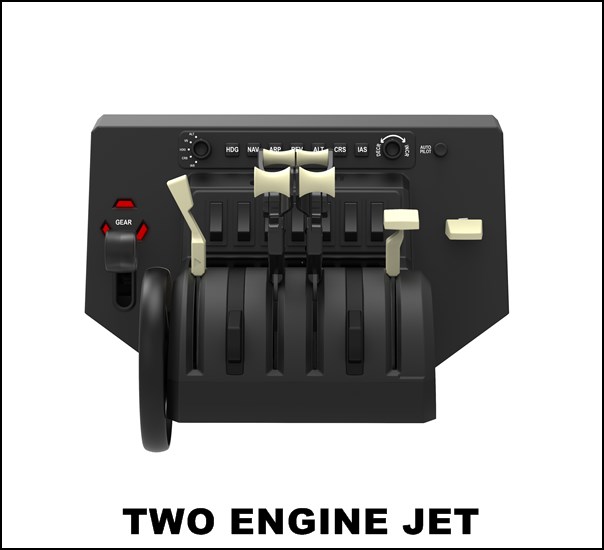
General aviation pilots can set up the Bravo Throttle Quadrant as a light twin with prop and mixture controls or a single engine airplane. Most noteworthy, you can remove the unused levers so they’re not in the way, which is very nice.


Trim Wheel

The Bravo Throttle Quadrant includes a trim wheel, hallelujah!!! Pilots from the real world know how important elevator trim is. On the other hand, if you were raised on home flight sims, you possibly underestimate its importance. If you know me, you know how much I liked the Saitek trim wheel. Tragically, it appears that Saitek stopped producing the trim wheel when the company was acquired by Logitech. Now Honeycomb Aeronautical has come to our rescue.


Other Features

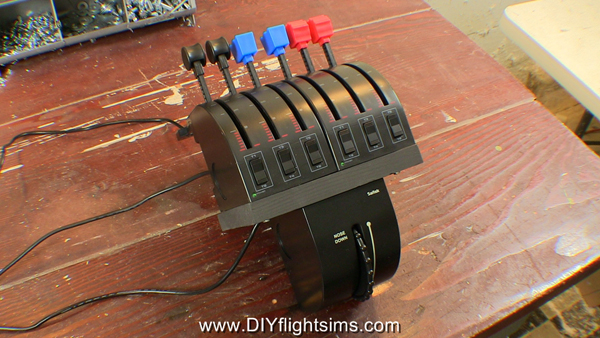
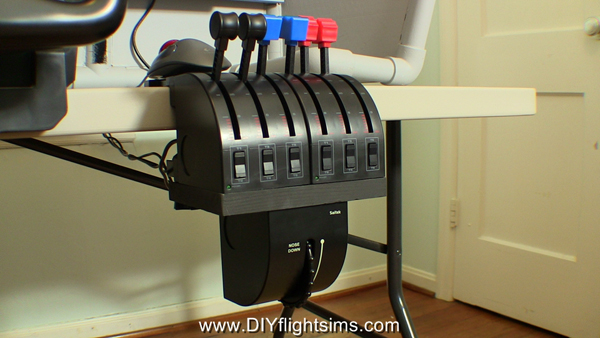
If the Bravo Throttle Quadrant only had the interchangeable levers and the trim wheel it would be a solid product, but it also includes several other features. It has a landing gear handle with position lights, flap lever and annunciator panel. In addition, it has autopilot controls, and seven programmable rocker switches. Is that too much for a small unit? Is the annunciator panel hard to see? Does it seem like the rocker switches hard to reach? I will suspend judgement until I actually try one in real life.


Bravo Throttle Quadrant – Ok, How Much?

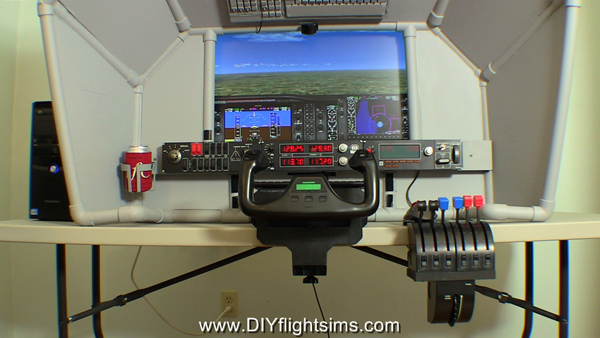
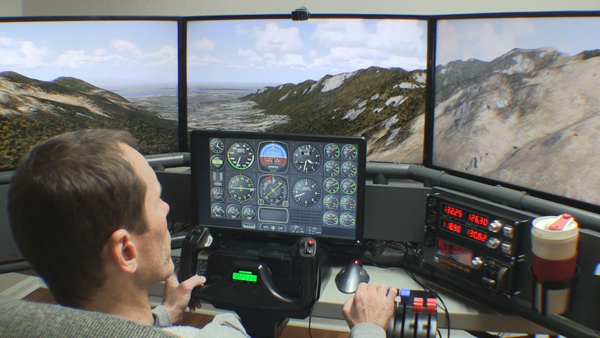
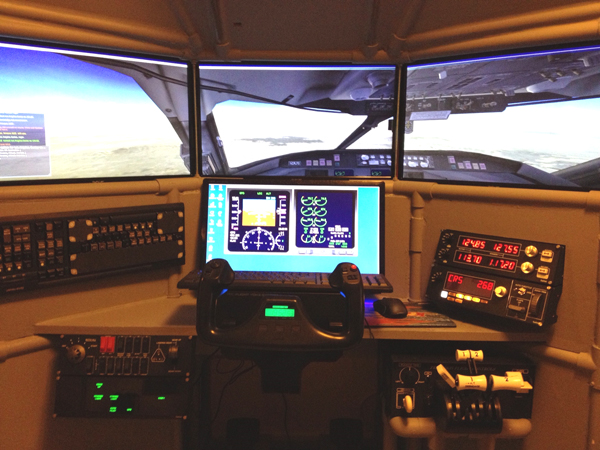
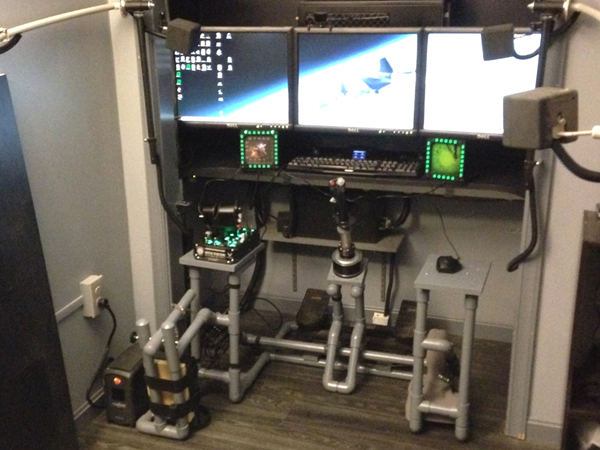
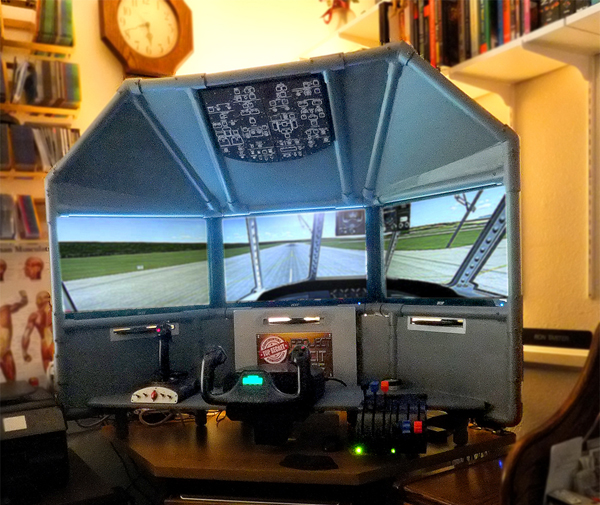
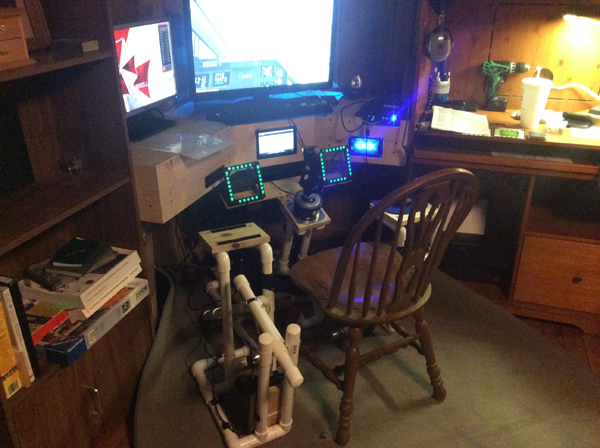
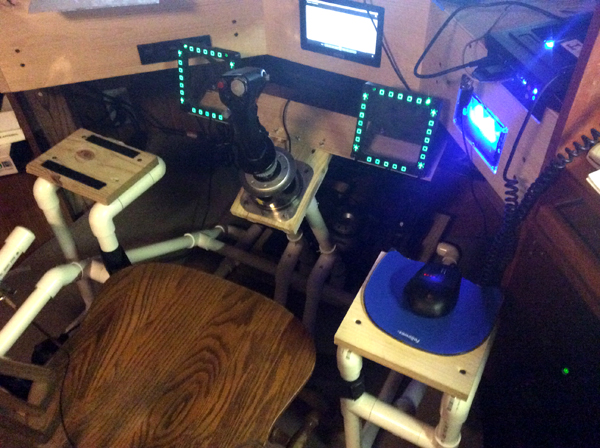
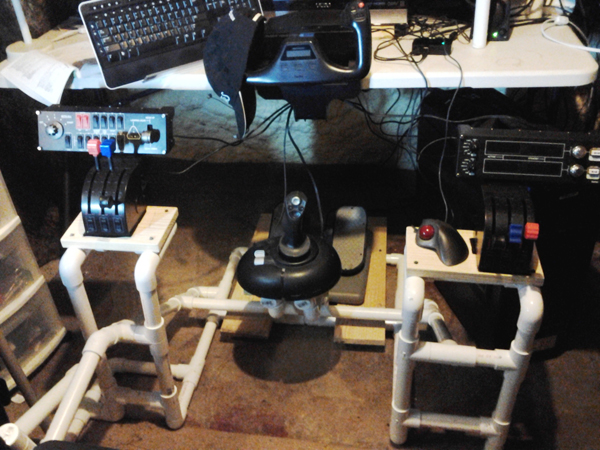
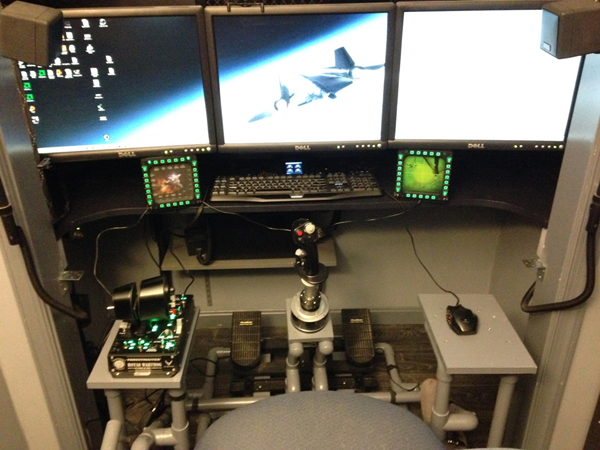
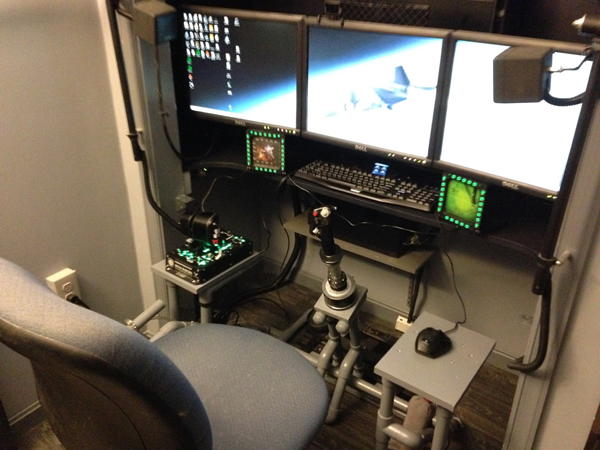
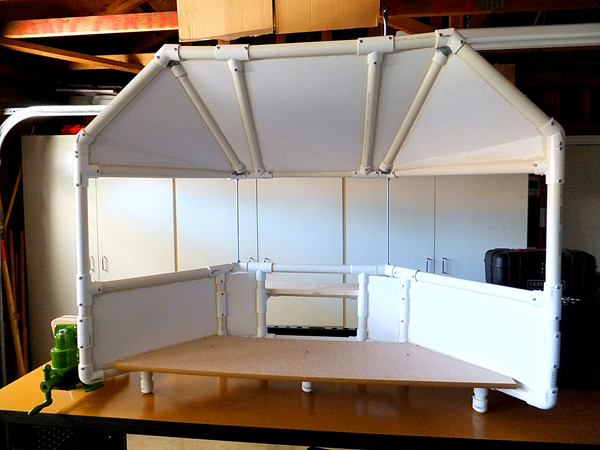
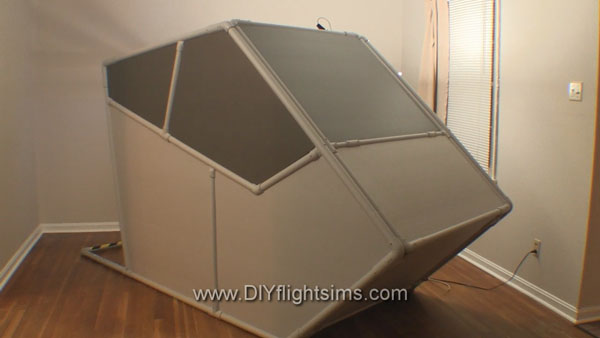
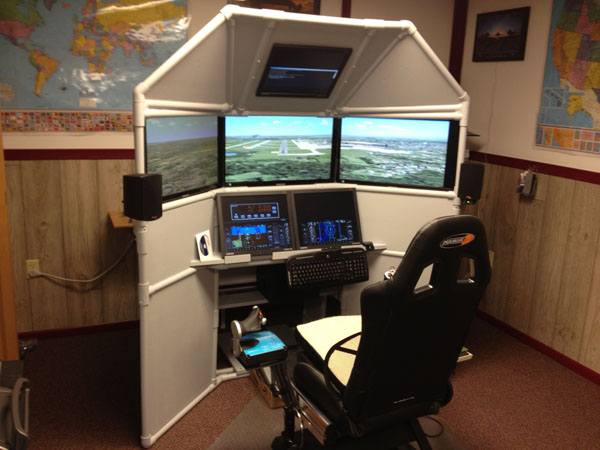
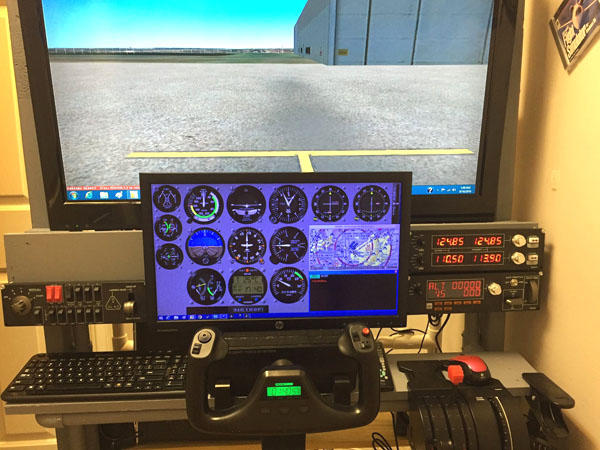
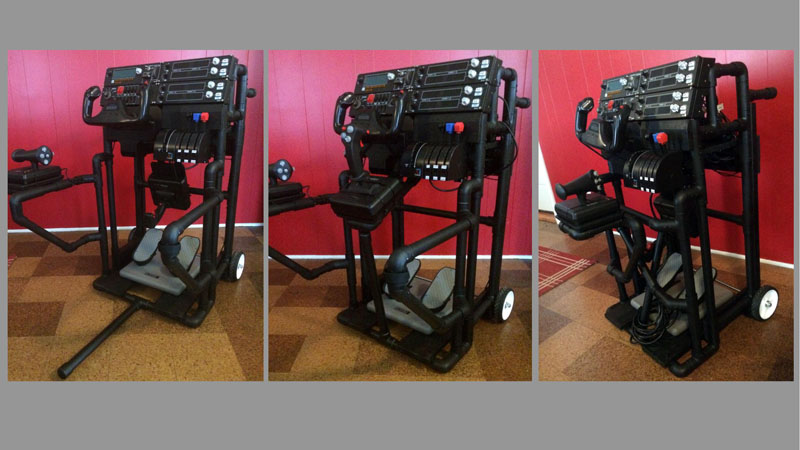
Honeycomb Aeronautical’s website lists a suggested retail price of $199.99 for the Bravo Throttle Quadrant. That’s a damn good price for so many features. It should be available “shortly after” the release of the Alpha Flight Controls in the 4th quarter of 2017. In addition, the Bravo Throttle Quadrant looks like it would be a delightful addition to the DIY Deluxe Desktop Flight Sim or the DIY Flight Sim Pod.


take my money credit card

3 Suggestions for your mobile flight simulator

Three Suggestions for Your Mobile Flight Simulator

I was contacted by a representative from a giant, international, airline manufacturer who wanted to build a mobile flight simulator to take to events and schools. You may recall I transported the DIY Triple Screen Flight Sim and the DIY Roll-Away Flight Sim to several events. His team had an empty shell from an actual airplane cockpit, with the real controls, but no instruments or much of anything else. Their task was to make the cockpit shell into a mobile flight simulator. Maybe you have had this idea too.

The first major hurdle was to make the real controls work with the flight simulator software on a PC. And that’s when they contacted me for advice. This is what I told them…

Three Suggestions for Your Mobile Flight Simulator

I have a few suggestions for your team regarding this mobile flight simulator. To start off, I believe many of us in the industry tend to regard a mobile flight simulator on an informal spectrum with “more realistic” on one end and “less realistic” on the other. As I understand your need, you will be transporting this simulator to events, setting it up for use by attendees, and then moving the simulator again. For a mobile flight simulator such as this, I have discovered realism is less important than reliability. It either works on the day of the event or it doesn’t. Therefore, expo simulators fall into a binary, more than a spectrum from an operational standpoint.

So with that in mind, I have three suggestions.

Suggestion #1: Hack Retail Products

The first suggestion is to purchase a retail flight sim control yoke, and hack it. By “hack” I mean you remove the interior components and incorporate them into the airplane cockpit that you showed me in the picture. Everything you need for your mobile flight simulator is inside a retail flight sim yoke. The yoke contains potentiometers that measure pitch and roll deflection, so you can integrate those components into the actual controls on your airplane. The potentiometers are already wired into a circuit board and so is a USB cable. When you plug in the USB cable to a PC, it will simply recognize the controller and install the drivers. You can then use any flight simulator software you want.

You could do the same thing with retail rudder pedals and a throttle quadrant.

Suggestion #2: Use Retail Products

In my experience, it’s a logistical challenge to safely transport and set up a mobile flight simulator. It is possible some part of your simulator may not work correctly even though you were very careful and were prepared for the event. If you can’t get it to work, the whole day is wasted.

My other suggestion is to simply install retail off-the-shelf flight sim controls in your airplane cockpit. This looks decidedly less realistic, but you gain an extra layer of reliability because you can have spare parts in reserve. For example, if the yoke isn’t working on a particular day, you can simply switch it out with a new yoke. The same is true with the rudder pedals and throttle quadrant.

Suggestion #3: Get Running Now, Progress Later

Finally, third option would be to use both strategies. Perhaps you start with Suggestion #2, which is quick and simple, and then maybe a year later move up to Suggestion #1, which is more complex but looks more professional. This approach gets you up and running for early success and also provides a path to improvements. Later, you and your team will have more experience with the flight simulator hardware and software. Therefore, it will be easier for you to re-install the real controls and get them running with the PC. Your team and stakeholders will feel good about the progression of the project.

I hope these suggestions are helpful. I’m interested in knowing how your flight simulator turns out so please let me know what you ultimately decide to do.

Saitek Trim Wheel Adapter Template

Build a Saitek Trim Wheel Adapter

You can install the Saitek Trim Wheel underneath dual Saitek Throttle Quadrants… but only if you use an adapter plate. I made instructions, a DIY video, and a template to help you build a Saitek Trim Wheel Adapter  just like the one you see in the pictures.

I’m very happy with the Saitek Trim Wheel mainly because proper elevator trim is such a vital and basic skill in real flying. We are lucky that an inexpensive and robust trim wheel is readily available for our home flight simulators. Unfortunately, there is no way to clamp the stock Saitek Trim Wheel to a reasonable location. Believe me, I tried. A pilot should be able to adjust the elevator trim without looking for it the trim wheel. As a result, most trim wheels in real airplanes are located under the throttle or next to the pilot seat. Therefore, I made this Saitek Trim Wheel Adapter plate so you can install your trim wheel in a very natural location for your home flight simulator.


You Can Build a Saitek Trim Wheel Adapter

Take a look at these two examples of Saitek Trim Wheel Adapters built by Flight Sim enthusiasts just like You! Most noteworthy, you will see their Adapters look exactly like the one I built. They used the exact same build template that I offer free on my website. Many thanks to builders Dennis and Ben for sending me their pictures. I would love to see your finished Adapter too. If you build one, please send me pictures of your project to diyflightsims@rogerdodger.net.


Download the Free Template

Build your own Saitek Trim Wheel Adapter. Start by downloading and printing out the template. Get the template free by signing up for my monthly newsletter, the Roger Dodger Insider. You will be the first to know about product updates, sales, building tips, and more. It’s a monthly email so you won’t be bombarded with a bunch of stuff in your inbox and you can unsubscribe at any time. Become a Roger Dodger Insider here.

4 New Changes to Home Built Flight Simulators: Watch Video

I made four simple, yet significant changes to the D250 Deluxe Desktop home built flight simulators. Consequently, these changes bring me back into the beloved world of general aviation. See me in the video flying a Beechcraft Baron once agian.


1. Added a Yoke and Throttle Quadrant

I removed the side-mounted HOTAS joystick and throttle and added a Saitek flight yoke and throttle quadrant. I attached the trim wheel underneath the throttle quadrants, and that is the perfect location. Once again, I can fly multi-engine airplanes like the Beech Baron, or light general aviation airplanes like the Cessna 172.

Home built flight simulators with new mods

2. Raised the Instrument Panel Display

I use an inexpensive 19″ monitor to display the flight instruments on the D250. The yoke housing did not fit under the 19″ monitor, so I raised the monitor mount a few inches. I simply replaced the board for the Center Instrument Panel and attached an adapter board for the monitor mount.

Raised monitor mount for instrument display

3. Moved all Saitek Switch Panels

When you fly an airplane with a yoke, your left hand is typically on the yoke and your right hand is free to adjust the radio frequencies, dial in nav headings, and more. The D250 wasn’t set up like this because I used it to fly helicopters. As a result, the radios were on the left side of the cockpit, because a helicopter pilot typically keeps his right hand on the cyclic (joystick) and the left hand is free. I cut new 1×8 boards for the Left and Right Side Instrument Panels and re-arranged, and re-mounted the Saitek switch panels.

Yoke and throttle quadrant mod for the DIY flight sim

4. I Moved the Drink Holder

Don’t fly thirsty! I moved the drink holder to the right side of the cockpit so I could easily reach it with my right hand. The drink holder is the right size for a travel mug or a bottle with a drink coozie.

Important drink holder in the home flight sim

Plans for Home Built Flight Simulators

Do you want to build this same flight simulator for your home? If I get enough interest from my DIY community then I will create an additional Instruction Manual and include it with the original plans. In addition, customers who have already purchased this project will get the new plans for free.

System Specs and Peripherals

Notice these computers are not especially strong or new. You don’t have to spend $2000 on a computer to have great home built flight simulators.

DIY Deluxe Desktop Flight Sim, item #D250
Primary computer: Powerspec B634 with Intel i5-3450
Nvidia GeForce GTX 950 SSC
Windows 7, 64 bit
Flight yoke: Saitek Pro Flight
Saitek throttle quadrant
Saitek Pro Flight trim wheel
Pro Flight Cessna rudder pedals from Saitek
Switch panels: Saitek PZ55, PZ69, PZ70

Secondary computer: Dell Inspiron 530s with Pentum E2200
Windows Vista
Sim Innovations Air Manager

4 screen DIY flight sim with yoke and throttle quadrant

Innovative DIY Cockpit and Flight Simulators in the Customer Gallery

I’m always impressed by the many ways my customers modify the DIY Flight Sim projects to meet their needs. It’s one of the best things about this gig. Customers change the home cockpit plans a little or a lot depending on their needs and resources. Check out these innovative DIY cockpit solutions from the Customer Gallery.

Rich’s Quad Screen Flight Sim

My customer Rich built a T440 DIY Triple Screen Flight Sim and installed an additional screen for the flight instruments. This creates a stunning degree of realism because your instruments are positioned close and you focus your vision outside to see the surrounding environment. Similarly, I demonstrated a quad display setup with the DIY Deluxe Desktop Flight Sim and Air Manager powering the instruments.

You can see Rich added four Saitek switch panels and the K140 DIY Airliner Keyboard Mod. Do you think that is a Go Flight TQ6-ADV throttle quadrant? It’s not. It might be two Saitek throttle quadrants with after-market replacement handles attached. You can find such handles from FlightSimPM and others for your own innovative DIY cockpit.

Quad screen flight sim with switch panels, throttle quad by Rich

Thrustmaster Warthog HOTAS for Flight Sims

You can also see more usage of the Thrustmaster Warthog joystick and throttle with these projects. Here George modified the F331 DIY Easy Helicopter Collective to also include the Thrustmaster throttle. He can use it to simulate airplanes or spaceships in its shown configuration. He can also relocate the throttle to a platform below the collective handle and effectively simulate helicopters. Here is another example of flight sim builders buying quality hardware to equip their creations. Most of all, he built the whole simulator in a closet and included triple screens and Thrustmaster Cougar Multi-Function Panels (MFPs) for this innovative DIY cockpit.

Home flight sim helicopter collective, triple screens by George

A Very Special Triple Screen Flight Sim

Customer Ron built his T440 Triple Screen Flight Sim so it would fit on his desk. Keep in mind, the original plans are for a self-standing frame. Ron was able to modify the frame extensively so it fit neatly on his corner desk. He also added the Saitek yoke and throttle quadrant that we see so often in home flight simulators. Finally, the virtual cockpit you see there is from a Lockheed Constellation which is exactly what we use in the flight sim I built for the National Airline History Museum.

Desktop triple screen flight sim by Ron

More Innovative DIY Cockpit Solutions

Enjoy these other customer projects that I recently added to the Customer Galleries. More multi-screen projects and more modified frames for HOTAS and helicopter collectives. In addition, I have many more pictures to add to the gallery and I hope to do that in the coming weeks. Happy Landings! 

If you like this post, please leave a comment. That will enable the mystical internet algorithms to spread it to more people.


Warm Fireplace Inside a Flight Simulator

This project combines two of my favorite things: a cozy fireplace and my flight simulator. Why not simulate a nice cozy fireplace inside a flight simulator?!

This DIY flight sim is ready for winter! I combined the warm atmosphere of a crackling fireplace with the fun of flying my simulator. It’s just the thing for those freezing winter months. You can do this too, it’s easy to set up.

Create a Fireplace Inside a Flight Simulator

My flight simulator has two displays connected to the graphics card. The large display is a 40″ HDTV and the smaller display is a 19″ VGA computer monitor. Typically, I display the flight simulator outside view on the large screen and the flight instruments on the smaller screen. For today’s project, I’m only running FSX on the large screen. Start FSX and start a flight. Select Windowed Mode from the View Menu and resize the window so it fits on one screen (the large screen in my example).

Next start a web browser on the second monitor and find a fireplace video on YouTube. Play the video and select full screen. This is how I my smaller display shows a cozy, crackling fireplace.

The flight simulator you see in the pictures and video is the DIY Flight Sim Pod. You can build this same thing in your own home. These instructional videos and manuals show you how to build a big, beautiful, flight simulator. The yoke, throttle quadrant, switch panels, etc. all came from Amazon.

Don’t Fly Thirsty

All we need now is a nice hot apple cider. I recently discovered sugar free apple cider from Alpine. It doesn’t need any sugar because of what we add next: cinnamon flavored bourbon. Apple and cinnamon… oh it’s so, so good!
Leave the ice and snow outside, you’re flying in comfort.
Happy Landings!

Warm fireplace in your Flight Sim!

This Winter, People Around the World are Building Home Flight Simulators

People around the world are building home flight simulators this winter. These guys find inexpensive materials at home improvement stores and build their own airplane cockpit at home.

January is BUILD MONTH

Why is January a great time to build a DIY (Do It Yourself) flight sim project? First of all, many people get new flight simulator software and computer equipment for Christmas and are ready to upgrade their home cockpit. Also, the holidays are over and now people are returning to their hobbies. Flight simulation is a great way to learn about aviation during the cold winter months. Consequently, I typically see an increase in DIY Flight Sim business and website traffic starting in January.

You don’t necessarily need a workshop for building home flight simulators, so many people build their project in an apartment or even a dorm room. You don’t need outside ventilation because no harsh chemicals, paints, or adhesives are used with these projects so you can build indoors. Let it snow!


Inexpensive Components and Materials

Is your home flight simulator nothing more than a desk with a few monitors and a joystick? You can make a more realistic airplane cockpit with inexpensive materials from a home improvement store. These guys build home flight sims with PVC pipes, lumber, and Styrofoam insulation panels. Notice they also painted their projects because painting is also inexpensive, easy, and gives the project a truly finished appearance.

We are fortunate to live in a time when we have so many affordable choices for computer equipment and flight controls. For example, it is now possible to use multiple high-definition HDTVs as displays for a flight simulator. In addition, computers and graphics cards are more powerful than ever. We have more choices than ever for flight sim control yokes, rudder pedals, throttle quadrants, switch panels, and more. Finally, the flight sim software of today is better than ever. Lockheed Prepar3D, X-Plane 11, FSX Steam, and Aerofly FS2 all boast improved performance and functionality.

Combine inexpensive building materials with affordable computer equipment and you can have a powerful and realistic flight simulator for your home.

Customizing and Building Home Flight Simulators

Builders modify their projects to match their needs and resources. For example, they can scale a frame to fit around 24″ monitors, or 27″, or 32″ or whatever. Also, they can use one large display, or multiple displays. Some builders add modified keyboards, additional lights, or even drink holders. Are you building in a spare room or just a spare closet? These guys can fit a fully functional flight sim just about anywhere. If you typically fly airplanes with a yoke and throttle quadrant, then that is what you will want to build. On the other hand, if you use a HOTAS joystick and throttle, then you will want a DIY frame that supports those flight controls. If you fly helicopters, there’s a helicopter collective project for you too. See all these examples of customized flight sim projects in the Customer Gallery.

Get Started!

The most difficult part of any building project is just getting started, so get going now. You may make some mistakes along the way, but they will be inconsequential because you’re using inexpensive materials. Get building and get done, so you can get flying!


Six Screen Home Flight Simulator


Saitek Pro Flight Instrument Panel in a DIY Triple Screen Flight Sim

Our customer, Tom, sent in these pictures of his completed project. He installed a Saitek Pro Flight Instrument Panel in a DIY Triple Screen Flight Sim. Actually these are eight separate units that combine to work as a complete instrument panel, therefore he has the standard six flight gauges, plus two VOR displays. 

T440 Triple Screen Flight Sim customer completion

Saitek Pro Flight Instrument Panel

The Saitek Pro Flight Instrument Panel you see in the picture is eight separate flight instruments. Each unit can be set individually to display whatever instrument you choose, in addition, you have 15 different displays to choose from. The units cost $170 to $190 USD depending on where you purchase from. 

The instrument panel is the perfect addition to Tom’s DIY Flight Sim. He says: “Had great fun building this triple screen, with your instructions and videos even I couldn’t mess it up!”

T440 Triple Screen Flight Sim customer completion

Merchandise Shortage

But wait, can you even purchase the Saitek flight instruments right now? On mypilotstore.com they note a merchandise shortage with the following message: 

Out of Stock. There is a massive, world-wide, back-order situation on all Saitek Pro Flight merchandise.  All orders will be filled on a first-come, first-served basis.  Order now to reserve your spot in line. You will not be charged until the order ships and you can cancel at any time prior to shipment.  Orders placed now are expected to be shipped in 6 to 12 weeks.

MadCatz recently sold Saitek to Logitech. Gameindustry.biz reports that MadCatz purchased Saitek in 2007 for $30 million, but is now selling it to Logitech for only $13 million. We can only hope that Logitech can keep the Saitek product line in production and going strong for years to come. I’ve owned several Logitech products (keyboards, mice, etc.) and I’ve always been happy with their reliability and functionality. I know that there have been concerns lately about the workmanship in Saitek products and consequently I hope the sale to Logitech improves the reliability of the entire Saitek product line. 

X-Plane 11 Beta on Triple Screens, First Look

You can download the X-plane 11 beta right now. Configuring the X-Plane 11 Beta on triple screens with a full flight simulator cockpit is a challenge. I’m using the DIY D250 Deluxe Desktop Flight Sim for this evaluation. The D250 uses three 32″ HDTVs running from a single Nvidia GeForce GTX 950 SSC.

The download and installation was straightforward, and furthermore X-plane automatically spanned all three screens when it booted. The software detected my Saitek Cessna rudder pedals and provided a quick calibration. Unfortunately, it assigned the pitch and roll axis to the toe brake functions. Also, I was unfamiliar with the user interface so it wasn’t apparent how I would properly assign the functions to my flight yoke.

X-Plane 11 assigned pitch and roll to the toe brakes

Immediately Airborne

The demo gets you into the air immediately. Unfortunately, I wasn’t able to assign the controls properly so I stopped after a few minutes. Also, I wasn’t able to zoom out the view, so the virtual cockpit was unseen, except for the wet compass.

X-plane 11 control menu with options behind the bezels

I found my way to the control settings menu to set up the yoke, throttle quadrant, and trim wheel. In addition I wanted to correct the rudder pedal assignments. On my triple-screen setup, some of the menu options are obscured behind the bezel. You don’t have the option to move the menu window around like you do in P3D. The only way to see these menu options would be to exit out of X-plane, turn off bezel correction in Nvidia Controls Panel, restart X-plane to run the menu, and then turn bezel correction back on afterwards. Or you can just guess what’s behind the bezel. I had some troubles with identifying which axis is which on the Saitek throttle quadrant.

X-Plane 11 graphics settings, some options hidden behind the bezel

X-plane allows you to manually set the screen resolution, which is a very nice option. I set it to the same screen resolution as my desktop with no trouble at all.

I’m using Air Manager to display the flight instruments in FSX and P3D. I think it requires additional configuration to use it with X-Plane 11. Air Manager has an excellent set of Beechcraft Baron flight instruments and I’m looking forward to using them with the Baron X-Plane 11.

I spent a lot of time stuck on the runway

Stuck on the Runway

I couldn’t get all my controls properly assigned and as a result, I spent a lot of time on the runway. I didn’t even attempt to set up the three Saitek control panels because they probably need an updated driver to work with X-plane. I’ll look into that.

The demo expired before I could set up the controls

And that was it. I ran out of time in the demo, in addition, I didn’t have any more time in my day to wrestle with the simulator settings. The message said that my “flight controls will no longer function.” To be clear, my controls never functioned properly because I couldn’t get them assigned. I will try X-Plane again and I hope to actually fly it next time.