X-Plane 11 Beta on Triple Screens, First Look

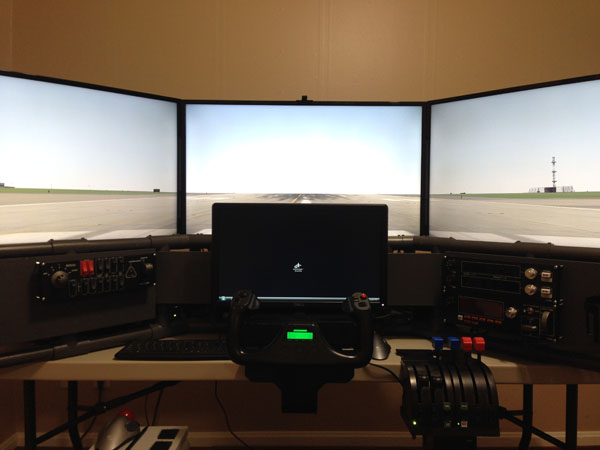
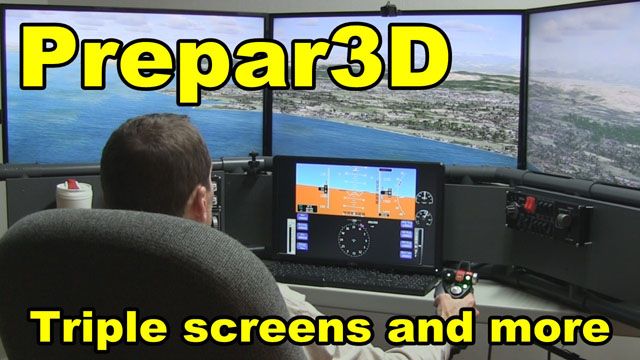
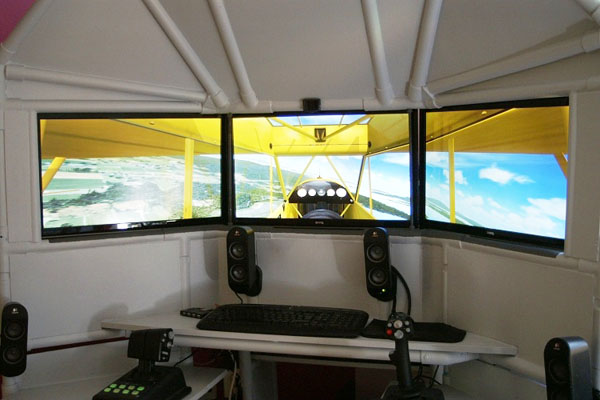
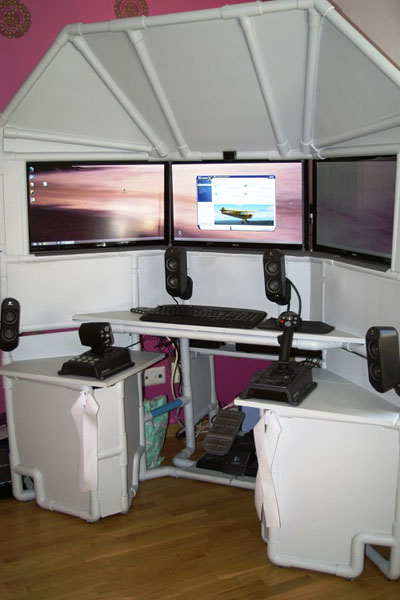
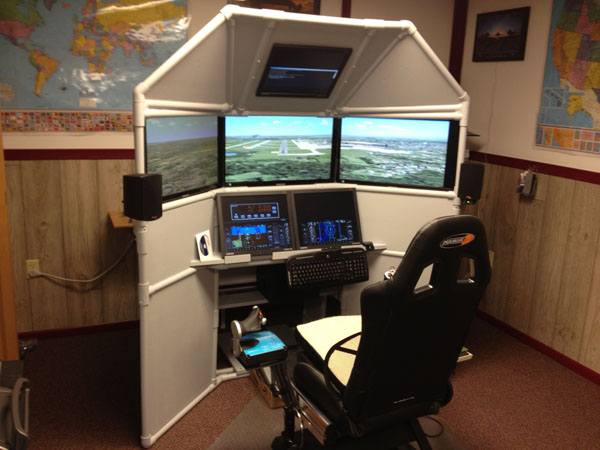
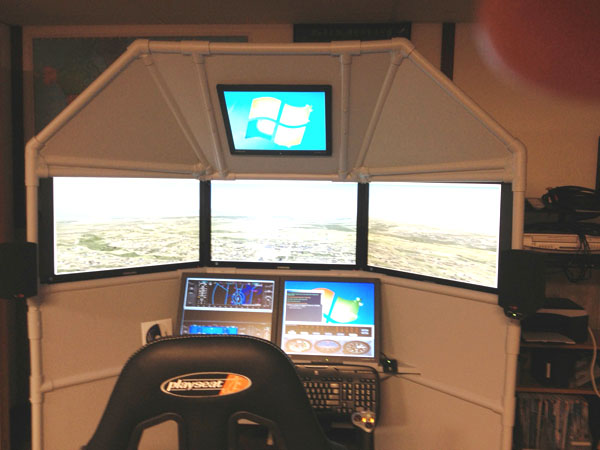
You can download the X-plane 11 beta right now. Configuring the X-Plane 11 Beta on triple screens with a full flight simulator cockpit is a challenge. I’m using the DIY D250 Deluxe Desktop Flight Sim for this evaluation. The D250 uses three 32″ HDTVs running from a single Nvidia GeForce GTX 950 SSC.

The download and installation was straightforward, and furthermore X-plane automatically spanned all three screens when it booted. The software detected my Saitek Cessna rudder pedals and provided a quick calibration. Unfortunately, it assigned the pitch and roll axis to the toe brake functions. Also, I was unfamiliar with the user interface so it wasn’t apparent how I would properly assign the functions to my flight yoke.

X-Plane 11 assigned pitch and roll to the toe brakes

Immediately Airborne

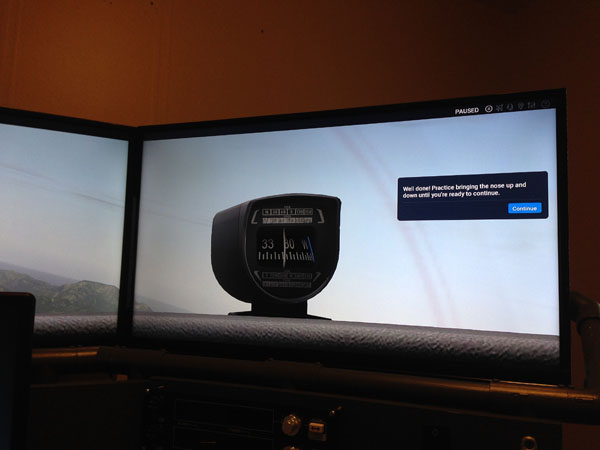
The demo gets you into the air immediately. Unfortunately, I wasn’t able to assign the controls properly so I stopped after a few minutes. Also, I wasn’t able to zoom out the view, so the virtual cockpit was unseen, except for the wet compass.

X-plane 11 control menu with options behind the bezels

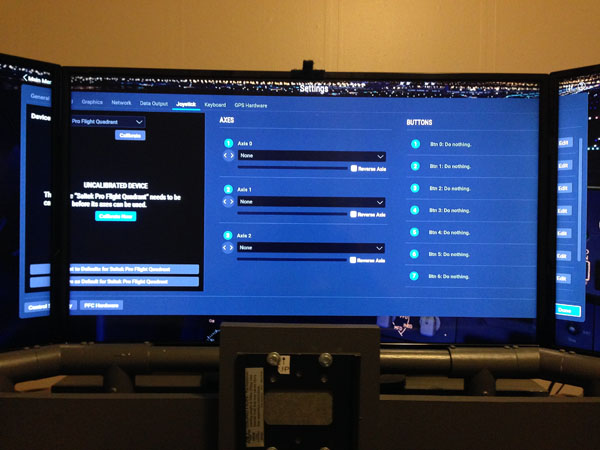
I found my way to the control settings menu to set up the yoke, throttle quadrant, and trim wheel. In addition I wanted to correct the rudder pedal assignments. On my triple-screen setup, some of the menu options are obscured behind the bezel. You don’t have the option to move the menu window around like you do in P3D. The only way to see these menu options would be to exit out of X-plane, turn off bezel correction in Nvidia Controls Panel, restart X-plane to run the menu, and then turn bezel correction back on afterwards. Or you can just guess what’s behind the bezel. I had some troubles with identifying which axis is which on the Saitek throttle quadrant.

X-Plane 11 graphics settings, some options hidden behind the bezel

X-plane allows you to manually set the screen resolution, which is a very nice option. I set it to the same screen resolution as my desktop with no trouble at all.

I’m using Air Manager to display the flight instruments in FSX and P3D. I think it requires additional configuration to use it with X-Plane 11. Air Manager has an excellent set of Beechcraft Baron flight instruments and I’m looking forward to using them with the Baron X-Plane 11.

I spent a lot of time stuck on the runway

Stuck on the Runway

I couldn’t get all my controls properly assigned and as a result, I spent a lot of time on the runway. I didn’t even attempt to set up the three Saitek control panels because they probably need an updated driver to work with X-plane. I’ll look into that.

The demo expired before I could set up the controls

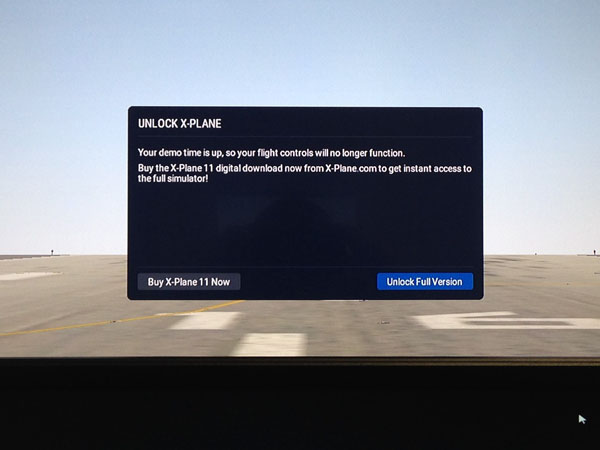
And that was it. I ran out of time in the demo, in addition, I didn’t have any more time in my day to wrestle with the simulator settings. The message said that my “flight controls will no longer function.” To be clear, my controls never functioned properly because I couldn’t get them assigned. I will try X-Plane again and I hope to actually fly it next time.


Prepar3D with Triple Screens and More

What you’re seeing here is Lockheed Martin Prepar3D with triple screens and more. The software is Prepar3D version 3.4, the DIY Deluxe Desktop Flight Sim, the DIY Side Joystick Frame, Air Manager is running the instruments on the 4th display. The installation of P3D was straightforward and you’re looking at a stock installation with no add-ons (yet).


The three main displays are inexpensive 32″ HDTVs connected to a single Nvidia GeForce mid-level graphics card. The system specs are at the end of this blog post.

Prepar3D Installation

P3D recognized the Saitek X52 Pro and properly assigned its functions, which was very nice. For other flight simulator programs, assigning the controls correctly is an awful awful chore, but not for P3D. This is the first flight simulator software I’ve ever seen that correctly identified rudder pedals and successfully assigned them to the correct function. Including the toe brakes. So, kudos to Lockheed Martin. They also build spaceships, by the way. Just so you know.

It’s easy to combine the DIY Side Joystick Frame, (item 311), with the Deluxe Desktop Flight Sim project. I’m using the Saitek Pro Flight Cessna rudder pedals. Great rudder pedals. I updated the drivers for my Saitek switch panels that enabled them to work with P3D. That was easy.

You’ll notice that nothing here is expensive or exotic… or even new. For example, I’m using a second-hand computer to display the flight instruments. The second computer is so old it’s running Windows Vista.

Air Manager is the software that generates the flight instruments and it communicates through the local network connection with P3D on my primary computer. Air Manager also works with X-plane and Flight Simulator X.

System Specifications

DIY Deluxe Desktop Flight Sim, item #D250
DIY Side Joystick Frame, item #F311
Primary computer: Powerspec B634 with Intel i5-3450
Nvidia GeForce GTX 950 SSC
Windows 7, 64 bit
Saitek X52 Pro Flight HOTAS controls
Saitek Pro Flight Cessna rudder pedals

Secondary computer: Dell Inspiron 530s with Pentum E2200
Windows Vista

.

Prepar3D with triple screens and more

Triple Screen Flight Simulator with HOTAS

DIY triple screen flight simulator with HOTAS
DIY triple screen flight simulator with HOTAS by Ola

Great to see this innovative build from Ola! He made several modifications to the DIY Triple Screen Flight Simulator project to better match the type of flying he enjoys. You can see from the screen shot he is flying a Piper Cub over the summer countryside. He is also running Flight Simulator X. The stock project from DIY Flight Sims calls for a yoke and throttle quadrant, but Ola designed two podiums on either side that support HOTAS (Hands On Throttle and Stick) flight controls. I fully support modifying the designs to match your needs. It’s exciting to see all the variations that builders can create. I never predicted I would see a Triple Screen Flight Simulator with HOTAS.

Logitech G940

Ola is using the Logitech G940 HOTAS flight system with his home flight sim cockpit. I’ve always wanted to try out this system but I haven’t had the opportunity yet. I’ve owned lots of Logitech products and I’ve always been pleased with their reliability and affordability. For some reason, I’m not finding this available on Amazon or Newegg. Amazon actually does have it listed at $620 USD, which is way too expensive, but could be an indication this product is discontinued. I hope it’s not discontinued, but it is a force-feedback joystick, and it’s hard for those to sell successfully in the already competitive joystick market.

Especially relevant are the 2″ Velcro strips on either side of the triple screen flight simulator with HOTAS. You might not know this unless you’ve experienced it, but if you use rudder pedals while sitting in an office chair, you immediately find that pushing on the pedals, results in you rolling away in the chair. The remedy is to strap the chair in place with sturdy Velcro strips. Most of all, you literally get to “strap in” when preparing to fly your simulator.


home flight sim with three screens
DIY triple screen flight sim by Ola

Six Screen Home Cockpit

 DIY Six Screen Home Cockpit
Six Screen Home Flight Simulator

One of the best things about the Do-It-Yourself ethos is seeing all the ways people adapt the designs to fit their specific needs. Most noteworthy is this DIY six screen home cockpit built by my customer, Ted. He started with the stock DIY Triple Screen Flight Sim plans and adapted it to include larger monitors, and he added two auxiliary monitors for the instruments and a top monitor for the overhead switches.

It looks like he also built a custom gaming chair from a racing seat.

Want to know more? Ted says:
“I’m only using one computer. I have a Matrox triple head to go for the three, 27inch monitors. The top monitor is operated with the second output on my main video card. I also have another video card that runs the bottom monitors… I made some adjustments because of the 27 inch monitors but it worked out ok. Thanks for your help with this.”

Look at the PVC pipe frame and how it is not restricted to only 90-degree and 45-degree angles as is so often the case with PVC projects. I invented a new building process for joining the PVC pipes together which opens up a world of options for innovative design. 

Check out other customer completed projects in the Gallery.

Six Screen Home Flight Simulator
Six Screen Home Cockpit

Project Origin

The DIY Triple Screen Flight Sim video and instruction manual has grown over the years. Originally, I produced it and donated it to the National Airline History Museum. It is a fun, interactive, hands-on experience for the museum guests to fly a simulated vintage airliner. Most noteworthy, they are still using it after 5 years!

I also spearheaded the first successful flight simulator Kickstarter fund-raising drive in history, as a result, the museum did not have to purchase the simulator. Rafaela threw a pie in my face at a party celebrating the victorious campaign.


Cats in Space

I unexpectedly adopted a cat when my mom moved to a new apartment and discovered she couldn’t have pets. Then I realized something amazing: I’ve been making YouTube videos for 10 years and I’ve never uploaded a video with a cat. I can now do cat videos! I had dreams of my cat earning enough money in ad revenue to pay for her own food, litter, and vet bills. Look at this video, she even hops onto the back of my chair and flies through space with me…. how cute is that?


I guess it’s not that interesting to people. Literally zero people care.

So I guess I’ll have to eat her.