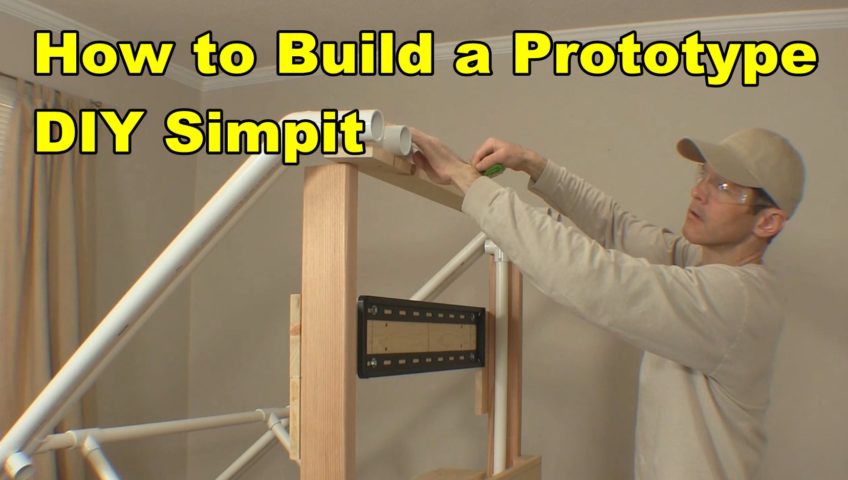
How to Build a Prototype DIY Simpit
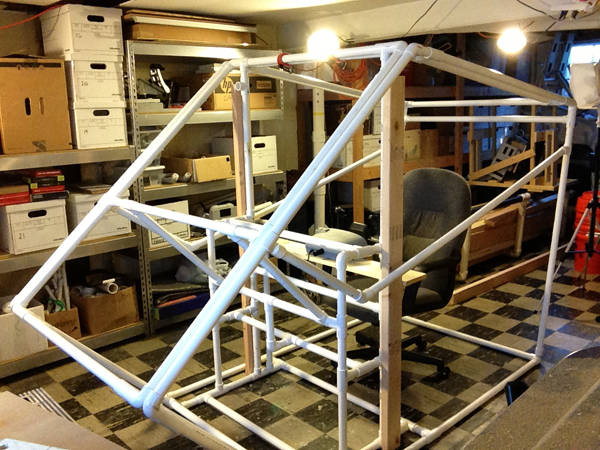
One of the common questions I get is about altering the DIY Flight Sim designs. Most builders modify the designs in some way to match their specific needs or equipment. For examples, take a look at Customer Gallery 1 and Customer Gallery 2 and notice how no two Simpits are alike. Once a builder deviates from the plans, the project becomes a prototype DIY simpit. There is no way I can predict how people will modify my DIY Flight Sim projects, so that is why I use building materials that are inexpensive and easy to use. Don’t be scared! Prototyping is a wonderfully creative process that can give you real satisfaction with your project.
What Does “Prototype” Mean?
You don’t really know if a flight sim design is going to work until you build it in real life. Really! If some anonymous person on a forum says an idea will work or not work, they don’t really know, because anyone can type words on a screen. You only gain true knowledge by building a DIY simpit in real life. That is prototyping.
So when someone asks me if a design modification will work, I’m very cautious about my answer for several reasons…
- I don’t know if my understanding of their message matches what they’re imagining.
- I don’t know if a proposed modification will require an additional structural reinforcement.
- I don’t know someone’s skill level. Have they built things before, or is this the first time?
- I don’t know if they have adequate tools. Are they building in a workshop or a dorm room, etc?
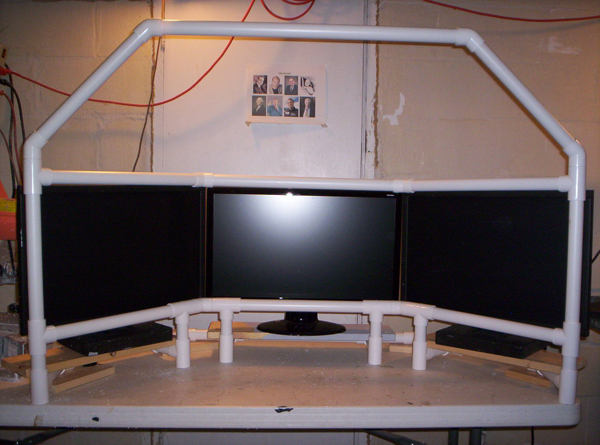
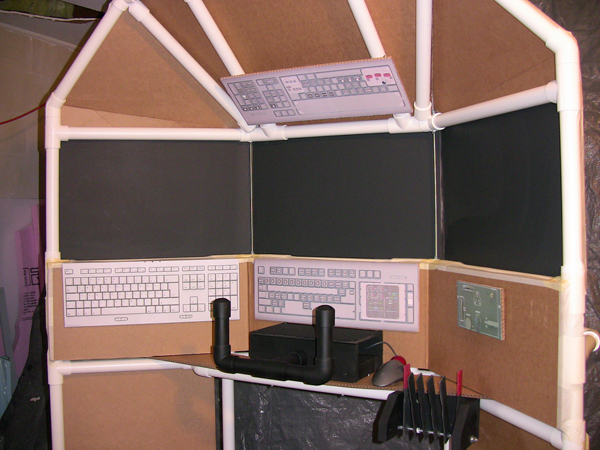
Prototyping means you try your idea, then adjust it and try it again, then adjust it and try it again, and keep at it until you are happy with your work. Fortunately, PVC pipe is a wonderful material for prototyping a DIY simpit (more about that below).

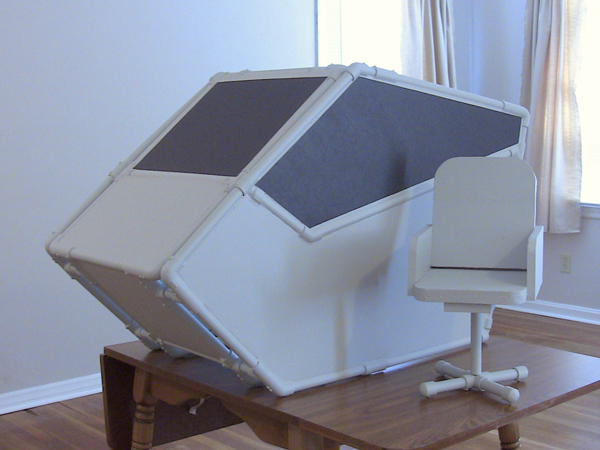
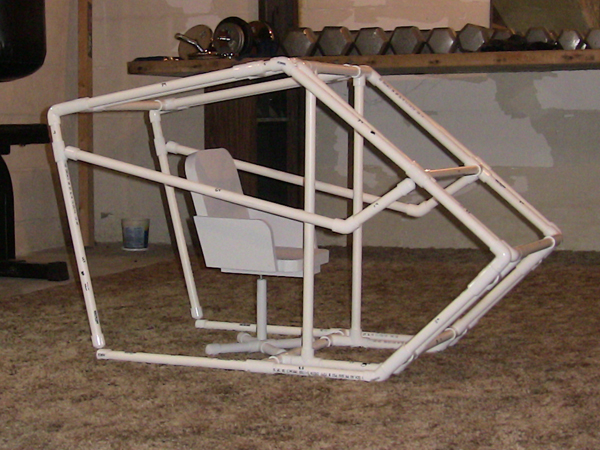
Scale models
When I am designing large DIY simpit projects I make a scale model of my idea. As a result, this helps me find any major flaws and get a feeling for what it will look like before I build it full size. I use 1/2″ PVC pipe when I build a scale model. The smaller pipe saves me money because I use less 1″ pipe when I later build the full size prototype.
I also make scaled down controls, displays, and switch panels. This isn’t Computer Aided Design, but I still call it CAD: Cardboard Aided Design.


7 Steps for Prototyping a DIY Simpit
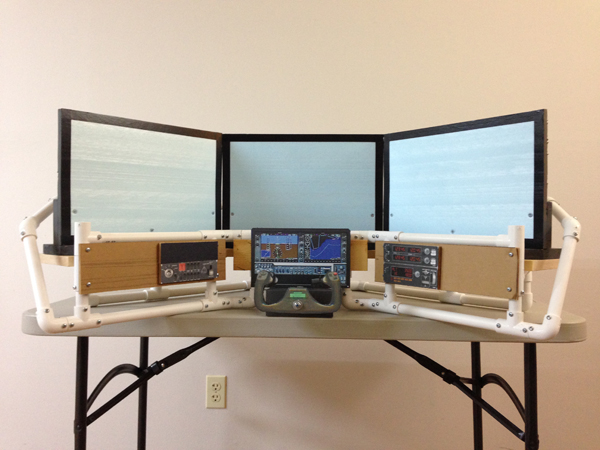
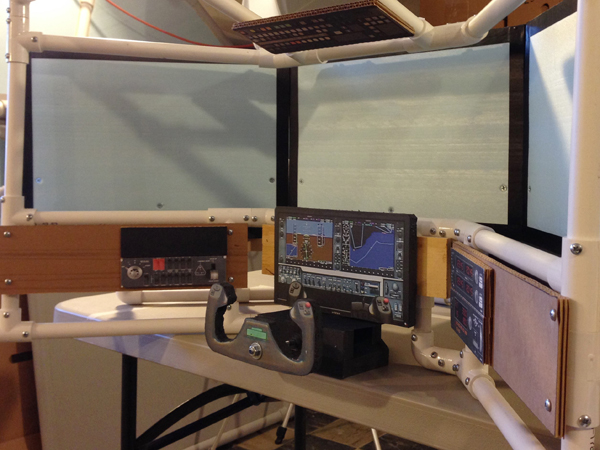
So how do you modify a DIY Flight Sim project if you need to scale it up or scale it down? Here’s an example. Let’s say you want to build the D250 Deluxe Desktop Flight Sim. However, the project is built around 32″ HDTVs but you want to use 27″ monitors. How do you scale this down?
- First of all, buy an extra length of pipe in case you need it (PVC pipe is cheap)
- Scale with a percentage. 27″ is about 16% smaller than 32″ Here’s the math: 32 – 27 = 5 and then 5 / 32 = .156, which is about 16%
- Decrease the measurements of pipes by that same percentage. Only scale the pipes adjacent to the displays, for now.
- Cut the pipes and assemble them with the PVC fittings. Start with just the pipes adjacent to the displays. Observe if the frame fits well compared to the displays or if you need to make changes.
- If some pipes are a little too long, remove them and cut them shorter. If some pipes are too short, that’s why you bought extra pipe. It’s easy to assemble/disassemble the PVC pipe frame to test different frame dimensions.
- Once you have pipe lengths that you are happy with, secure the PVC fittings with self-drilling screws.
- Scale the rest of the pipes to fit with the part of the frame you changed. This is much easier now that you have a starting point.

Write a Comment