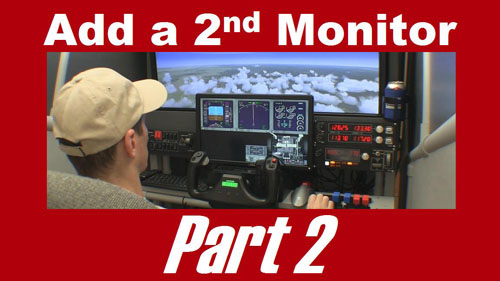
Add a Second Monitor – Part 2
Add a second monitor
Dual Monitors for Flight Simulator
This video will show you how to add a second monitor to your home flight simulator. In Part 1 I modified the monitor mounting bracket and attached it to this 1×8 board.
Now we will paint the board, install the monitor, and configure Microsoft Flight Simulator X to run on two monitors
Video Transcript
This is where we left off. Now I know all the components will fit correctly, so next I’ll paint the board.
I removed the mounting bracket and all components, but I left the tee nuts in place. I’m painting with tinted primer like I do with all my projects.
After one side has dried, flip it over and paint the other side.
The paint is dry to the touch, but it can still stick to the support boards when it sits overnight so I’m putting a few screws between the boards to allow the paint to dry completely.
I want a layer of masking tape (or something similar) between the new board and this attachment board. If I don’t separate the two boards like this, the paint will stick the boards together almost like glue.
Attach the board with deck screws,
Test fit the monitor to make sure it fits correctly.
You may or may not need an adapter for the monitor cable. This cheap little monitor only has a VGA plug.
Now that the monitor cable and power are hooked up, we can slide the monitor into place and turn on the computer.
The operating system should be smart enough to recognize the second monitor.
If not, right-click the desktop and choose “Screen Resolution” you may need to prompt the operating system to detect the monitors.
I recommend setting the large screen as Display 1
Also select “Extend these displays” here.
You know it’s working correctly if you can drag a window from one monitor to another.
Start Microsoft FSX. For this example, I’ll use the default G1000 Beechcraft Baron.
Select the 2D cockpit view. Right-click just above the instrument panel and select “Close window”
Next, select Shift + 4 to show the Primary Flight Display in a more manageable shape.
Now I can left click and drag it over to the smaller monitor and drag the edges to re-size the window.
Next, do the same thing with the Multi Function Display
I also like to display the Landing Gear Panel because it shows the elevator trim setting. Check out the Saitek trim wheel (I love this thing). Now I can see the trim setting for takeoff.
A quirky thing about this setup is that even if you save the flight, and exit, FSX will not save the locations of the instruments. The next time you start the flight, the instruments will have to be moved and re-sized again. You can remedy this by using Air Manager from Sim Innovations to display the instruments on your second monitor.
If you use TrackIR, a second monitor can still help you. Here I have the Virtual Cockpit on the main screen and the flight instruments on the small monitor. It works quite well.
It was a great experience to add a second monitor to my flight simulator and I hope your project goes well too.
Check out Part 1 of this project if you missed it.
2 Comments
Have you tried 2 monitors with Air Manager?
I was intending to setup a 2nd in portrait mode for a radio stack. Win 7 i5 Dual core 3.5GHz Gtx 750 4G
Hi Nathan. No, I have not tried that personally. I think it would be possible if you spanned the desktop across the two monitors and then positioned the instruments.
Write a Comment
Tag Cloud
Categories
Recent Posts
Recent Comments
Meta
Recent Posts
Recent Comments
Archives
Categories
Meta