Saitek X52 Throttle Fix
Saitek X52 Throttle Fix
Saitek X52 Throttle Fix
The Saitek X52 throttle includes two detents in its throttle movement
There are actually many situations where you don’t want to feel detents as you’re adjusting the throttle setting.
This is an easy Saitek X52 Throttle Fix. This video shows you how to remove this tiny part, so you can get back to smooth flying.
A detent is a mechanical resistance to rotation. The two detents in this throttle are at the 25% position and the 75% position.
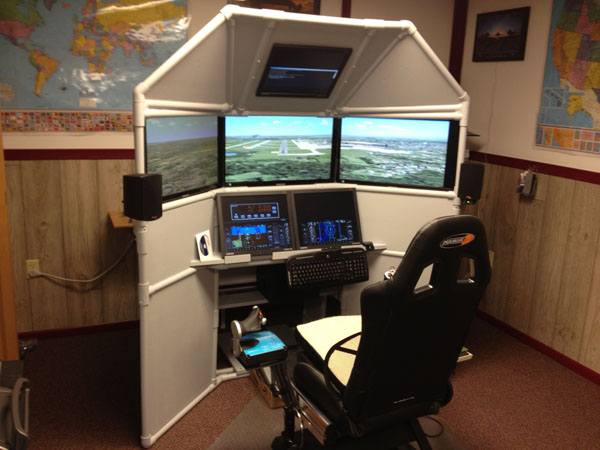
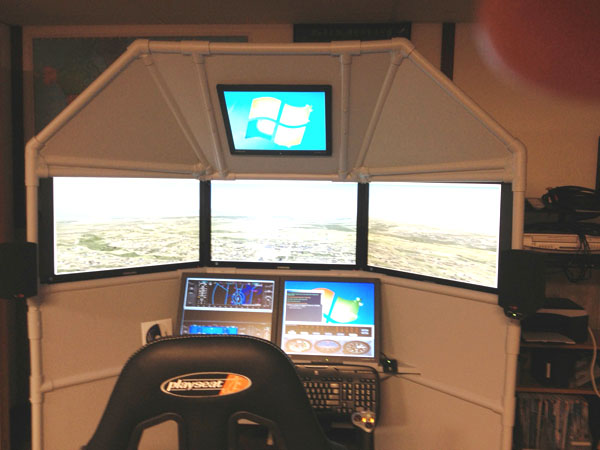
If you’re using this throttle with the DIY Easy Helicopter Collective, you definitely do not want detents in the throttle movement.
This is a pretty easy modification, so let’s get started. I like to begin by placing a piece of tape over the USB cable to keep the dirt out.
Reduce the setting to zero on the tension knob.
I recommend placing the throttle on something soft so it won’t get scuffed up
There are 8 screws that hold the throttle base together. Two in the middle.
Two near the tension knob
Two screws in opposite corners
And two more in the corners underneath the rubber non-skid pads
By the way, disassembly of this product will void the warranty. Just so you know.
Let’s tackle the hidden fasteners first. I’m using a small screwdriver to pry up the rubber pad to reveal the screw underneath.
Now I can remove this first screw. A magnetic screwdriver can help in this situation.
Repeat with the screw in the opposite corner.
Next remove the screws in the middle.
Note that this screw is different.
There are three different types of screws: the four corner screws, two longer screws for the middle, and two tiny screws for the tension knob. Do not get these mixed up.
Here I’m using a smaller screwdriver for these small screws under the tension knob.
Finally, we’ll remove the last two screws in the corners.
The two halves of the base are snapped together. There is plastic latch inside there holding it together.
That’s the latch
As we open it, observe how the parts fit together. See that slimy looking thing there? That’s what we will remove, like pulling a tooth.
Here as I’m moving the throttle grip, you can see two ridges on the rotating axle. Those ridges are what rub against the tooth and cause the resistance you feel when you move the throttle. Those are detents. By the way, do not get that grease on you. It’s hard to wash off.
This really is like pulling a tooth, but much easier. Use pliers, find a good grip and pull strait out. That’s what we like to see.
Reassembly of the Saitek X52 Throttle
Now let’s put it back together. The two halves of the base must be aligned perfectly.
These two white plastic tabs must fit in these two slots.
Snap it shut and start reinstalling the screws.
Again, here is a reminder of what they look like.
Start with these two corners.
Next attach the two tiny screws for the tension knob.
And then the two middle screws. So you’ll notice we’re attaching the screws in the reverse order that we removed them.
Finally install the screws in these last two corners. Try to stick the rubber pad back in place the best you can. It should stick pretty well.
And try it out. Try it with different tension settings. It’s so much smoother now. I really think you will enjoy using this throttle after this modification.


Recent Comments