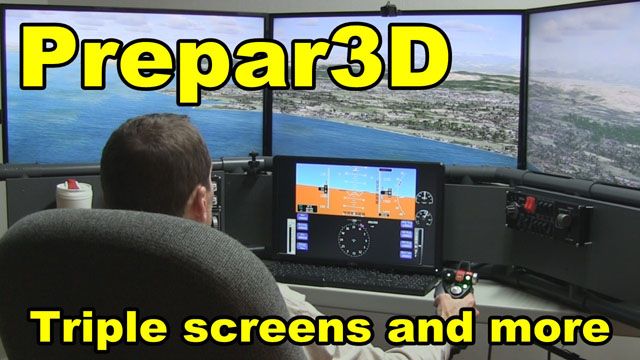
Saitek Pro Flight Instrument Panel in a DIY Triple Screen Flight Sim
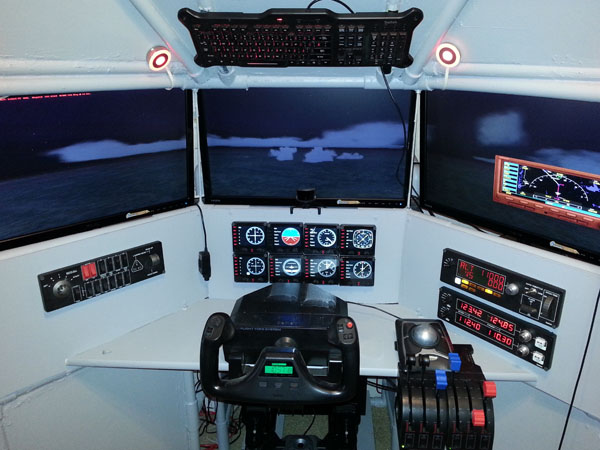
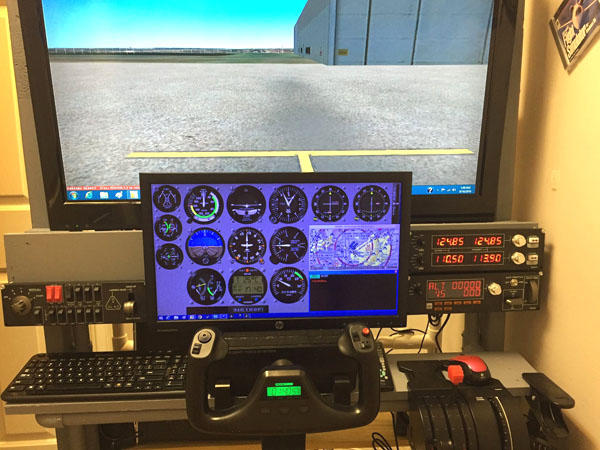
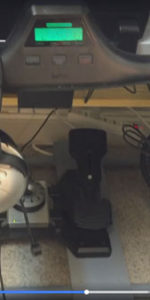
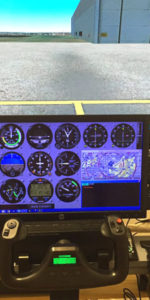
Our customer, Tom, sent in these pictures of his completed project. He installed a Saitek Pro Flight Instrument Panel in a DIY Triple Screen Flight Sim. Actually these are eight separate units that combine to work as a complete instrument panel, therefore he has the standard six flight gauges, plus two VOR displays.
Saitek Pro Flight Instrument Panel
The Saitek Pro Flight Instrument Panel you see in the picture is eight separate flight instruments. Each unit can be set individually to display whatever instrument you choose, in addition, you have 15 different displays to choose from. The units cost $170 to $190 USD depending on where you purchase from.
The instrument panel is the perfect addition to Tom’s DIY Flight Sim. He says: “Had great fun building this triple screen, with your instructions and videos even I couldn’t mess it up!”

Merchandise Shortage
But wait, can you even purchase the Saitek flight instruments right now? On mypilotstore.com they note a merchandise shortage with the following message:
Out of Stock. There is a massive, world-wide, back-order situation on all Saitek Pro Flight merchandise. All orders will be filled on a first-come, first-served basis. Order now to reserve your spot in line. You will not be charged until the order ships and you can cancel at any time prior to shipment. Orders placed now are expected to be shipped in 6 to 12 weeks.
MadCatz recently sold Saitek to Logitech. Gameindustry.biz reports that MadCatz purchased Saitek in 2007 for $30 million, but is now selling it to Logitech for only $13 million. We can only hope that Logitech can keep the Saitek product line in production and going strong for years to come. I’ve owned several Logitech products (keyboards, mice, etc.) and I’ve always been happy with their reliability and functionality. I know that there have been concerns lately about the workmanship in Saitek products and consequently I hope the sale to Logitech improves the reliability of the entire Saitek product line.


Recent Comments